


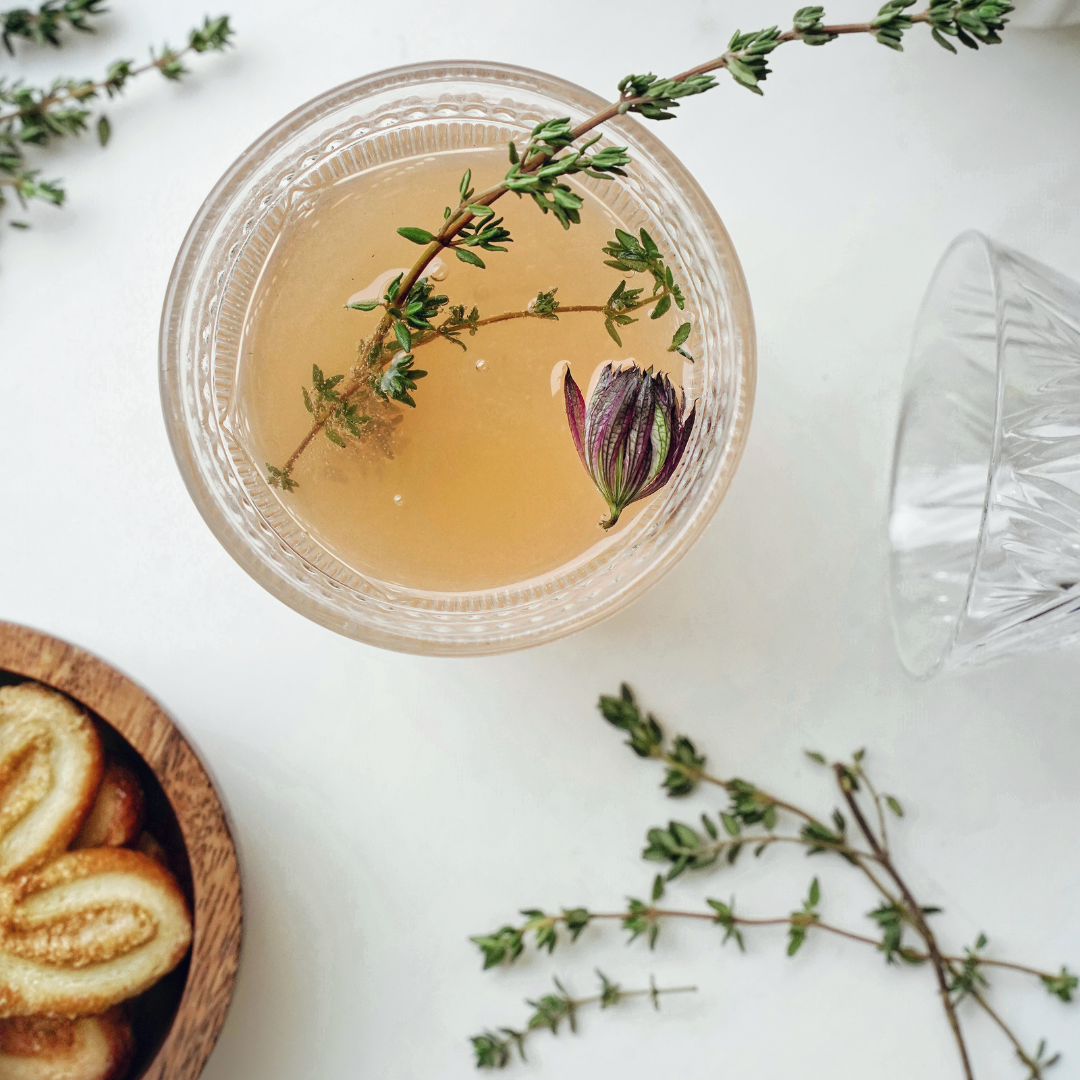
Whenever I think of tea, two specific thoughts come to mind: intention and ritualistic touch. Each and every step, from the careful selection of tea leaves to the gentle pouring of hot water, and the intentional waiting for the water to infuse, is a mindful practice that many have grown to love.
For generations now, humans have always had a spiritual connection to tea-making. From the foraging of leaves to its innate healing properties and its soul-nourishing connection to Nature, tea has proven itself to be more than just a warm beverage.
Tea has become one of my most favoured creative companions!
Fabric dyeing with tea is a beautifully open practice that not only nourishes your sense of artistry but reinstalls your connection to the Earth.
And so, if you are ready to delve deeper into the wonders of tea, stick around as we explore a passion of mine that’s steeped (yes, hello, tea pun) in history, love and Nature.
Choosing a tea-rrific dye option: Is tea or coffee better for dyeing fabrics?
Truth be told, I know that coffee and tea are often pitted against each other, however, when it comes to natural dyeing, there is always room for both. Coffee and tea offer you a more natural, earthbound aesthetic.
With that said, while both produce a gloriously unique vintage look, there are slight differences in their final hues.
Dyeing with tea tends to give darker colours than coffee because it has a higher tannin content. You might also want to keep in mind that because of its high tannin content, tea is a very reliable dyestuff to achieve muted shades of brown.
It really is all about preference, but I do encourage you to try dyeing fabrics with both tea and dyeing with coffee to see which one you prefer!
Are tea dyeing fabrics permanent?
The short answer? Yes!
The slightly longer answer? Well, when you are dyeing with tea, you will notice that the colour is permanent (also referred to as colourfast). Just keep in mind that naturally dyed garments do require a little more aftercare.
While the colour is permanent, you will need to help preserve its gorgeous hues by keeping your dyed garment out of direct sunlight, as the sun’s rays might fade the colours. I also highly recommend using a pH-neutral soap and cold water to wash your garments.
If you would like to further revive the natural dye colour on your garment, you can also refresh the tea-dyed item by placing it in another tea bath for a day!
What are the most tea-lightful teas that are best to dye fabrics with?
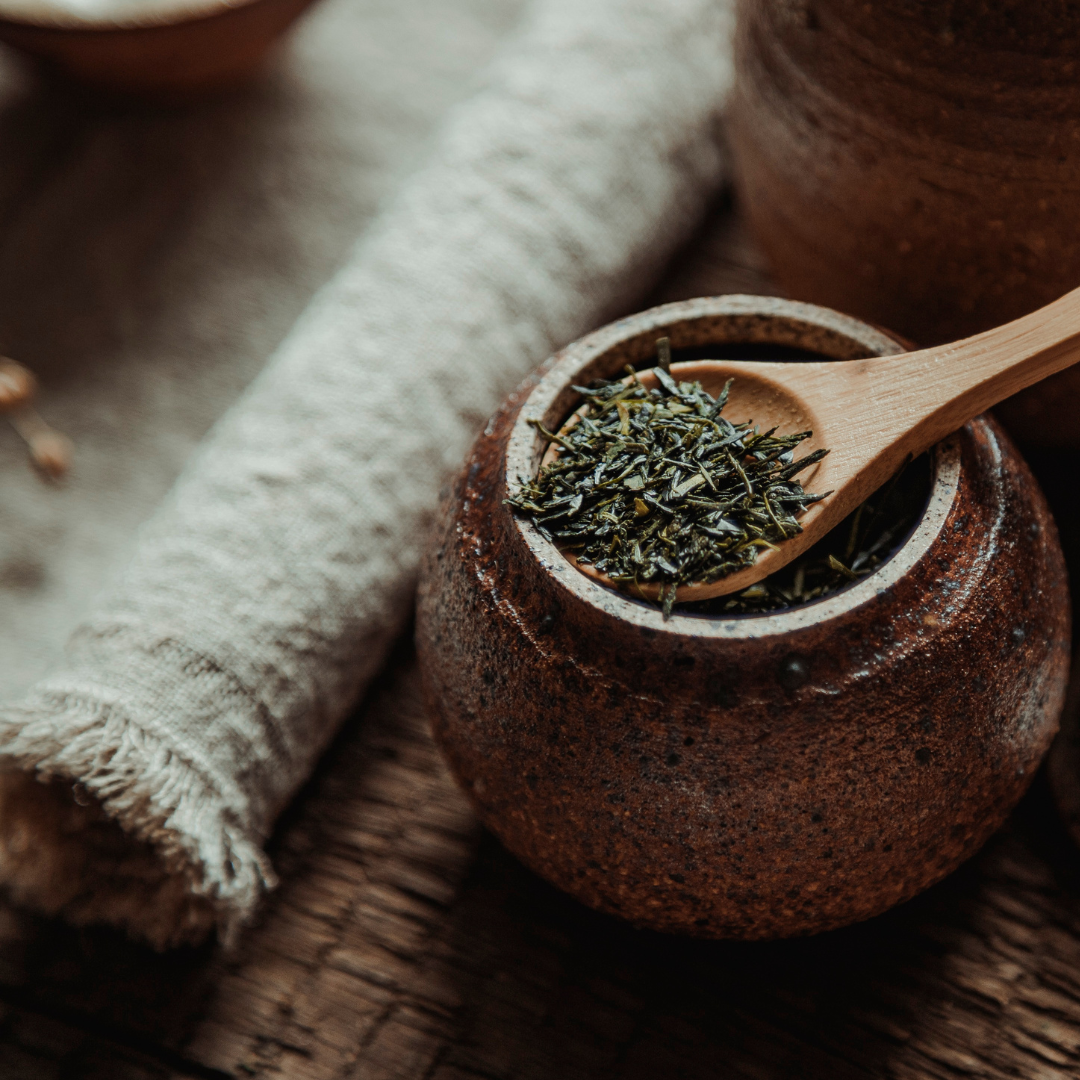
When it comes to dyeing with tea, I always gravitate to the following teas:
– Black tea, green tea, white tea, yellow tea and oolong (Camellia sinensis)
– Rooibos tea (Aspalathus linearis)
– Yerba mate (Ilex paraguariensis)
Step-by-step guide to dyeing with tea
Dyeing fabrics with tea is an easy-to-follow artistic journey. Let’s get started!
Materials needed
- Your natural fabrics
- Tea
- A dedicated dye pot
- Stainless steel or wooden spoon
- Kitchen scale
Step 1: Start weighing up your dyestuff
First and foremost, before we get to the actual dyeing of your fabrics, you need to make sure to weigh the fabrics that you will be dyeing. As a general rule of thumb, use at least 50% of the weight of the fibre (50g of tea for 100g of fabric) for a good colour. You can use new tea bags or used ones, too, as much of the colour will still be there even after you’ve drunk your tea.
Step 2: Give your fabrics a quick wash
Yes, this step might seem odd, but it is absolutely necessary. You will definitely need to wash your fabrics before you dye them … regardless of whether they are new or not. This will help remove any additive finish or oils that might have been applied to your garment.
Just keep in mind that you’ll want to use a gentle, pH-neutral detergent and hot water (you read that correctly) to wash your clothes out! You will then need to place your wet fabrics aside … don’t wring them out, as we’ll be using them shortly.
Oh, and while we’re at this stage in the process, if you already know that you’re hoping for a darker hue, you can pre-mordant or post-modify your textiles with iron. I go over these processes in my Living Colour with the Five Elements workshop.
Step 3: Steep that tea
Grab those tea bags and place them in your dye pot, cover them with water and leave them to simmer for at least an hour. During this time, you will notice the most wonderful colours being extracted and released into your water.
Just make sure that your dye pot is big enough for your fabrics too!
Step 4: Place your fabrics in the dyebath
This is what I often refer to as the “soak and submerge” phase! This is where you will place our wet, pre-washed fabrics into your dye bath. Make sure that your fabrics are all fully covered to ensure an even dye.
After at least an hour, you can check back in on the colour of your fabrics. If you would like them to darken in their shade, leave the fabrics in a little longer.
Step 5: Let fresh air do its thing
Once you are happy with the colour of your fabric, you can gently remove it from the dye bath. You will then need to rinse the garment under cool water.
Once that is done, hang your wet fabric to air dry in a shady space. After the fabric has dried, you can finally enjoy it!
When we go out into Nature with an attitude of gratitude, we encounter magic!
When was the last time you did something in honour of our gracious planet? If you are looking for that ‘aha’ moment, where you learn to gently and intentionally incorporate greener living into your life, that’s in harmony with Nature, THIS is where you’re meant to be.
I truly hope to inspire those moments where you can begin to explore your creativity alongside Mother Earth when you join my online natural dyeing workshop. This is where we play, create and inspire!
I look forward to sharing this space with all of you!


