


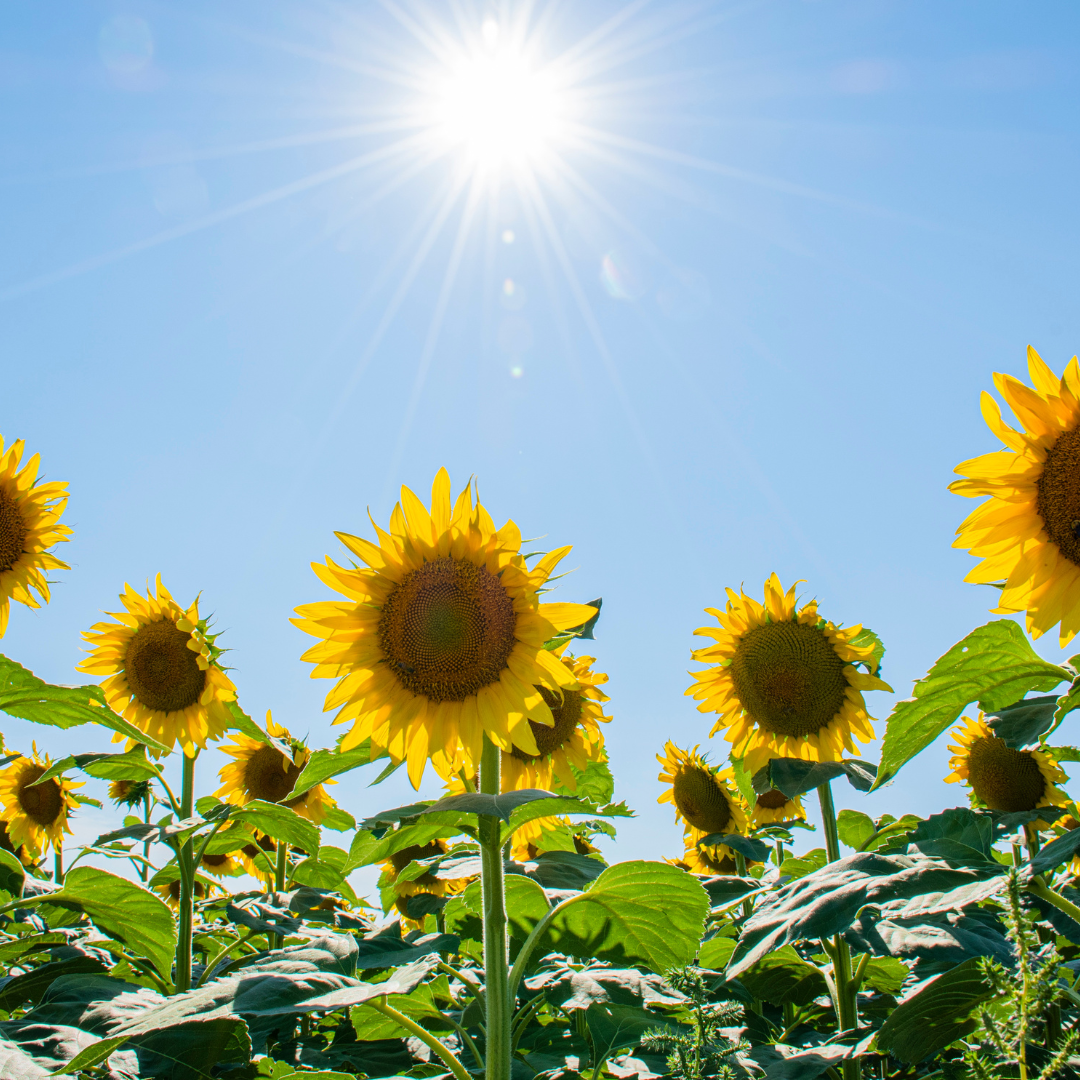
Dyeing fabric with flowers is an ode to creativity and a beautiful act of mindfulness.
Have you ever stopped to pay attention to the cathartic release that is attached to dyeing fabrics with flowers? There is true beauty in being able to relish in the gorgeous spectrum of hues that our natural world has to offer us.
Reconnecting with natural colours is not only about rekindling our childlike sense of wonder and curiosity, but it’s about creating moments of pause.
When we are dyeing fabrics with flowers, we are reviving the lost art of delayed gratification, given that natural dyeing takes some time. In these moments, we are gently reminded that while we may live in a world that prides itself on moments of instant gratification, the greatest moments come from moments of patience.
How beautiful is that sentiment? I love that dyeing fabric with flowers acts as a gentle reminder to relinquish control and let Nature do what it does best – create unimaginative beauty.
A history as beautiful as its outcome
While dyeing fabric with flowers may seem like the latest craze, it is an artisanal practice that has been around for centuries. That’s right, during ancient times, gathers would venture into the wilderness in search of various foliage and fruits.
They would later use the remnants of these plants to dye pieces of fabric. Not only was dyeing fabric with flowers an opportunity for individuals to express themselves, but it also offers moments of individuality too.
In the modern age, we see that the most recent resurgence of dyeing fabric with flowers has a lot to do with the fact that crafters, artisans and everyday creatives are all revaluing sustainable designs. The preservation of flower-dyed fabrics is all about protecting our planet, abiding by harmless practices and returning to a more back-to-basics way of life.
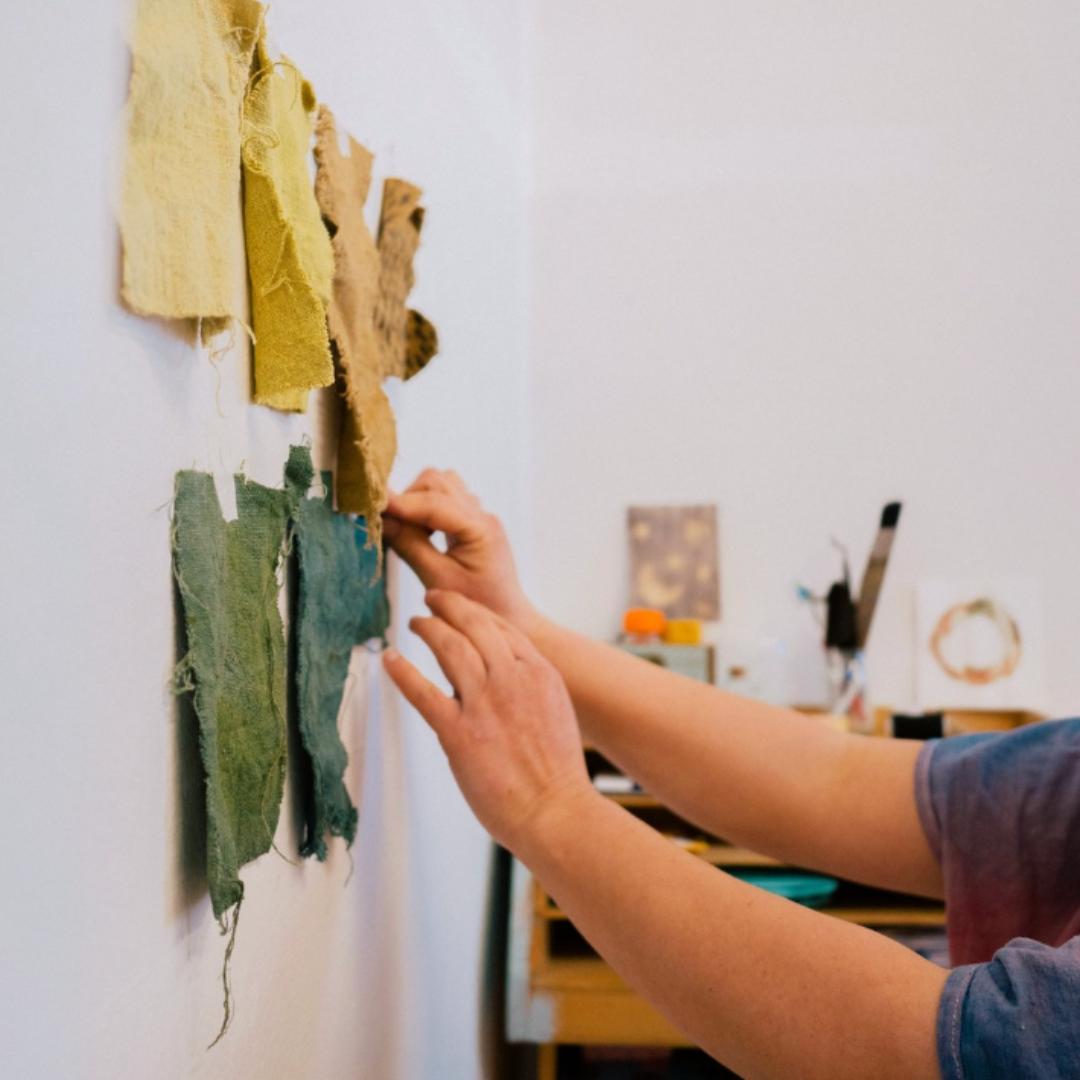
Flowers have quickly become the go-to dyeing option as they offer an array of vibrant colours to work from. The impurities found in each leaf and petal work in your favour as a rich and unique hue is created that is hard to replicate. And who doesn’t love a completely unique design?
What kinds of flowers should you use?
Do you want to know something pretty great? If you love growing plants and flowers at home, then there is a pretty great chance that you already have a few dye flowers blooming in your backyard. That being said, be mindful of the fact that certain flowers have deeper hues than others. For that reason, I suggest using the following flowers, as these ones have the best colour compounds for dyeing. Most of them will give a range of yellow colours; you can also get orange from Sulphur cosmos.
- Butterfly bush / Buddleia – all varieties (Buddleja spp.)
- Dahlia – all varieties (Dahlia spp.)
- Dyer’s chamomile (Cota tinctoria)
- Dyer’s coreopsis (Coreopsis tinctoria)
- Marigolds / Tagetes – all varieties (Tagetes spp.)
- Rudbeckia – all varieties (Rudbeckia spp.)
- Safflower / Saffron (Carthamus tinctorius)
- St. John’s Wort (Hypericum perforatum)
- Sulphur cosmos (Cosmos sulphureus)
- Tansy (Tanacetum vulgare)
- Yarrow (Achillea millefolium)
How to begin dyeing fabric with flowers
Before we begin, just know that there are only “happy mistakes” here. Embrace the mess, the controlled chaos, and just know that you will have the most beautiful results in the end.
You’ve got this!
What you need to begin dyeing fabric with flowers:
- NATURAL fabric garments or textiles like cotton, linen or hemp
- Your flowers
- A dye pot you use just for dyeing
- A wooden or stainless steel spoon that is used just for dyeing
- A dedicated sieve
- Kitchen scales
- A container to soak your textiles in plain water before dyeing
Step 1: Weigh up your fabrics and your flowers
Before you can begin creating your dream designs, you are going to want to do a little quick math – it’s nothing too serious, so don’t stress or begin panicking looking for your calculator.
All you need to do is get out your kitchen scale and a pen and paper. You are then going to want to weigh up your fabrics as well as all of your flower petals. Make sure that you have the same weight for your flowers as you do your fabrics. This is the best way to guarantee a vibrant colour shade.
Step 2: Get your scouring and mordant on
Don’t panic if these words are totally new to you! I go over both these processes at length in my Living Colour with the Five Elements online natural dyeing workshop.
If you prefer to skip this step, just make sure you wash your fabrics thoroughly with hot water and a mild, neutral soap. Bear in mind that the colours won’t be as vibrant without the mordanting process. And voila, you are ready for the next step in your dyeing journey!
Step 3: Extract those lively colours
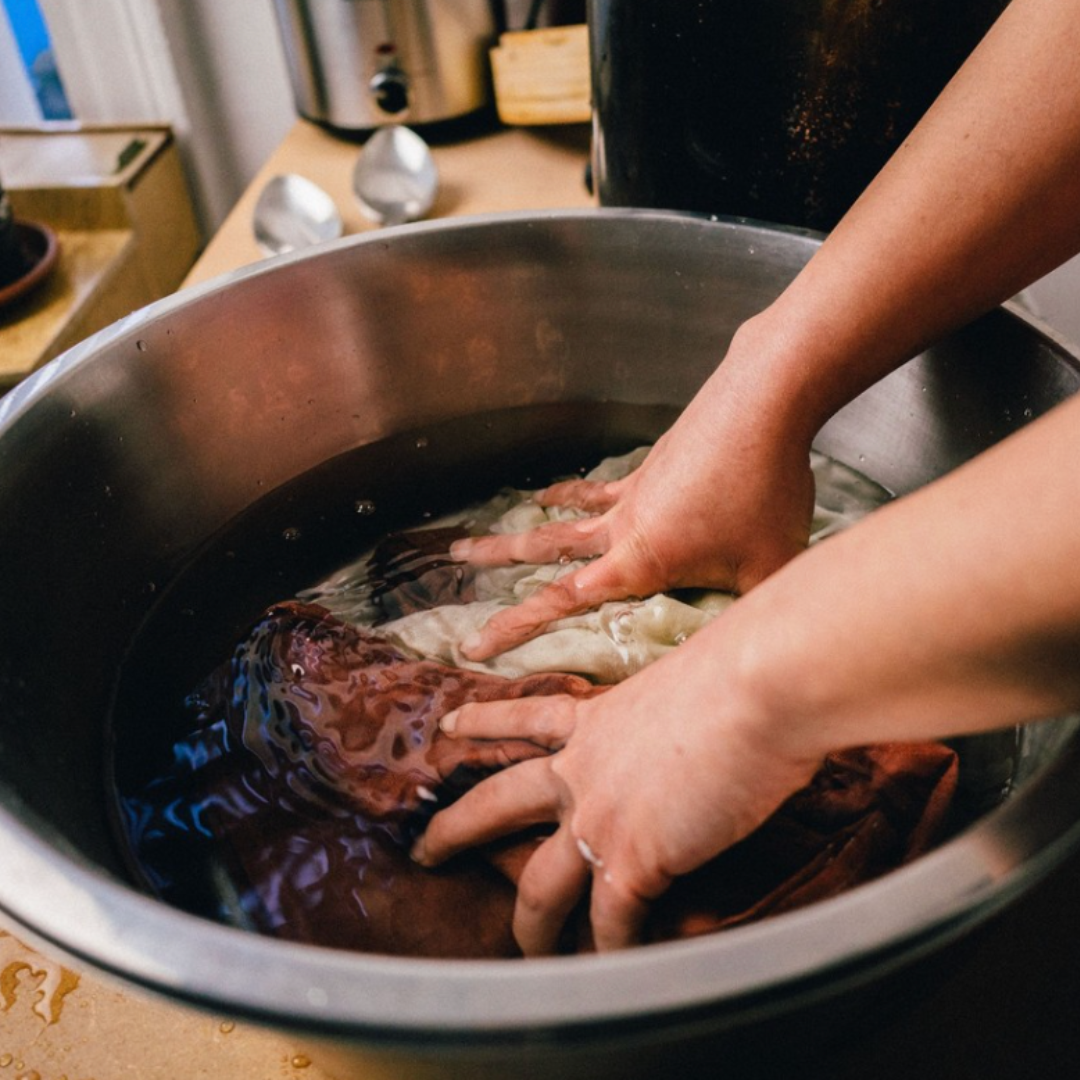
In order to help get those beautiful colours out of your flowers, you will need to place all of your flowers into a designated dye pot. Bring the pot to a gentle simmer and watch as the flowers begin to infuse with the water and release their natural hues. Keep in mind that the longer you soak your flowers, the deeper and richer the colours will be.
Once you’re done soaking your flowers, you can now strain your dye using a sieve – leaving you with this gorgeously luscious natural dye.
Step 4: Get soaking
Before you can begin playing with your new liquid natural dye, you will want to have a bowl and your dye pot at hand. You will need to fill the bowl with water and the pot with your homemade liquid dye, courtesy of your favourite flowers.
You will then place your fabrics in the bowl pot with plain water. We do this because your fabrics will better absorb the dye if they are wet, so make sure you soak your fabrics for at least 30 minutes before you try to dye them.
Once those 30 minutes are up, place your wet fabrics into the pot with your dye. Make sure that your fabrics are completely submerged in the dye and can move around freely!
Step 5: Bring your fabrics to a gentle simmer
Once your fabrics are completely covered in the natural dye, bring the pot to a simmer. The key word here is simmer! You do not want to boil your fabrics and the dye. If you are worried that the temperature is too high, make sure that you don’t see any bubbles and that the temperature is no more than 60 degrees Celsius.
Remember to continuously stir the fabrics so that the dye absorbs evenly.
After an hour has passed, you can turn off the heat, place a lid on top of the pot and let your fabrics soak in the dye overnight.
Step 6: The final stretch
The following day you can gently remove your fabrics from the pot and run them under cold water until the water runs clear. You will then need to find a shady spot where you can hang your fabrics to dry!
And literally after a few hours, you are all done.
You can now begin to revel in your incredible work!
Another great way to begin dyeing with flowers
Bundle dyeing is a great technique because you don’t need that many flowers to get really vibrant colours! You can learn this fun and creative technique in my FREE bundle dyeing masterclass
These flower recommendations work best for bundle dyeing and will produce dark teal/purple hues:
- Purple pincushion ‘Black Knight’ (Scabiosa atropurpurea)
- Black hollyhock (Alcea rosea)
Support is just one workshop away
If the thought of naturally dyeing fabrics with flowers seems a little daunting to you, worry not. I am here to support, encourage and lead you in this journey. My extensive and collaborative Living Colour with the Five Elements online natural dyeing workshop will help you explore your creativity and allow you to openly express yourself through the art of dyeing fabrics with flowers.
I hope to see you there!


