Dyeing textiles with plants you could find in your kitchen scraps isn’t a new concept.
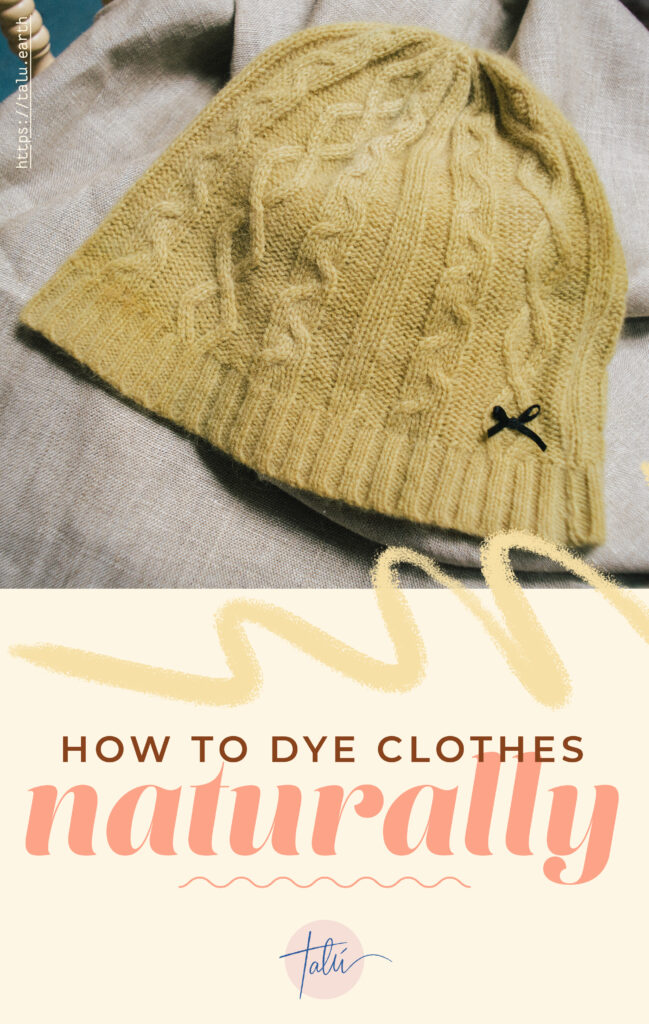
Humans have been dyeing textiles for thousands of years, and we’re not about to stop now. Learning how to dye clothes naturally is incredibly fun, and you’re rewarded with stunning finished products.
The history of textile dyeing goes way, way back. The oldest dyed textiles on record date from more than 30,000 years ago. They were linen (some trends never die!), and found in a cave in the country of Georgia.
Humans have been writing about natural textile dyeing (that we know of) since at least 2,600 B.C.! The oldest written document we have is in China.
This is all to say that natural textile dyes and dyeing methods are tried and true. Using plants, insects, and minerals for creating new hues suited humanity just fine for thousands and thousands of years.
It all changed in 1856, with a chemistry experiment that didn’t work. Instead of synthesising quinine, William Henry Perkin ended up with a purple slime that he couldn’t get out of a cloth. The first synthetic dye, mauveine, was born.
Synthetic dyes skyrocketed to popularity because they’re more colourfast (they don’t fade as easily!).
So what’s the problem?
Good question. Unfortunately, the use of these convenient synthetic dyes and finishes is responsible for about 20% of industrial water pollution. Good thing we can do something about it.
Living closer to the Land isn’t a trend, it’s a movement.
Humanity has progressed so, so quickly. From synthetic dyes, to air travel, the internet, even the use of combustion engines and assembly lines changed the world in permanent ways.
Technological advancement has improved many lives, but it’s hurt them, too. And one way to undo the harm our rapid progression has caused is to root yourself back in the Earth.
It’s entirely possible to bring yourself back into balance with the seasons: Earth’s natural cycles.
Before the rise of Christianity, Slavic, Germanic, and Celtic tribes celebrated the midsummer with bonfires and celebrations.
The ancient people of Ireland (my home) would use this time to pray for a good harvest – it was halfway through the growing season.
That means that still, centuries later, midsummer in Ireland is the ideal time to gather local plants or kitchen scraps to dye with! Nature’s bounty is in full force, and when you start to notice, it’s impossible to ever go back.
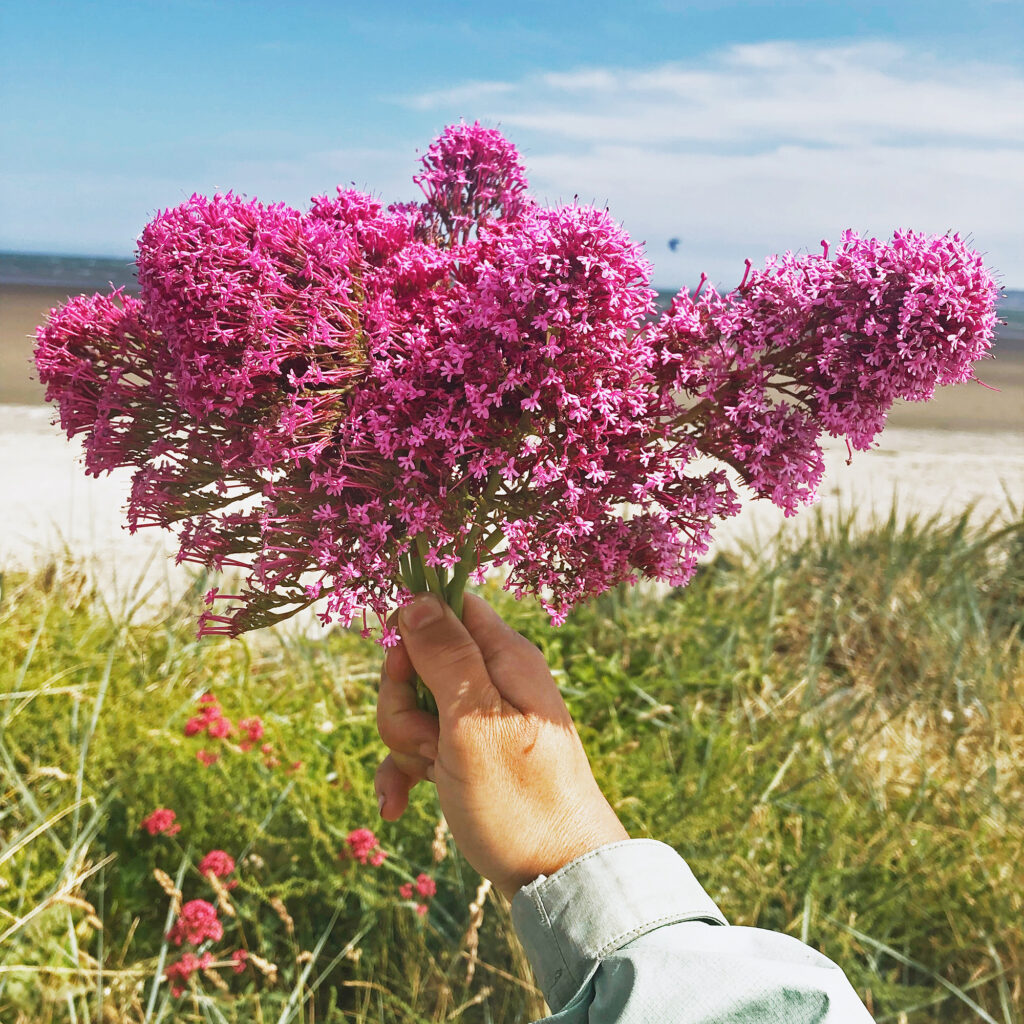
If you’re dying to start dyeing, gather natural materials first.
Foraging for and harvesting natural materials to create dyestuffs (i.e., anything that can be used for dyes!) is one of my absolute favourite ways to spend an afternoon.
Not sure what to look for? Don’t worry, I expected this: check out my list of suggestions for plants and kitchen scraps to use for dyeing!
Whether you prefer to make use of your food waste or spend a day hunting for butterfly bush flowers, also known as buddleia, you’ll end up with all-natural plant dye goodness.
What you’ll need to dye your clothes naturally:
- NATURAL fibres from plants (think linen, cotton, hemp, or bamboo) or animals (wool, alpaca, mohair, or silk). These will make up your textiles or clothing
- The dyestuff you collected (here’s the list again!)
- A dye pot you use just for dyeing. Don’t use it for cooking anymore! I like stainless steel, but you can use aluminium or unchipped enamel
- A wooden or stainless steel spoon used just for dyeing. Or, any wooden stick will do.
- A sieve just for dyeing (seeing a pattern?). You can also use a colander with a piece of cheesecloth or muslin
- Kitchen scales
- A container to soak your textiles in plain water before dyeing
Without further ado, let’s get into the ins and outs of how to dye clothes naturally!
I’ll go step by step, and in the end, you should have a beautifully dyed piece of clothing. I can’t wait for you to see it.
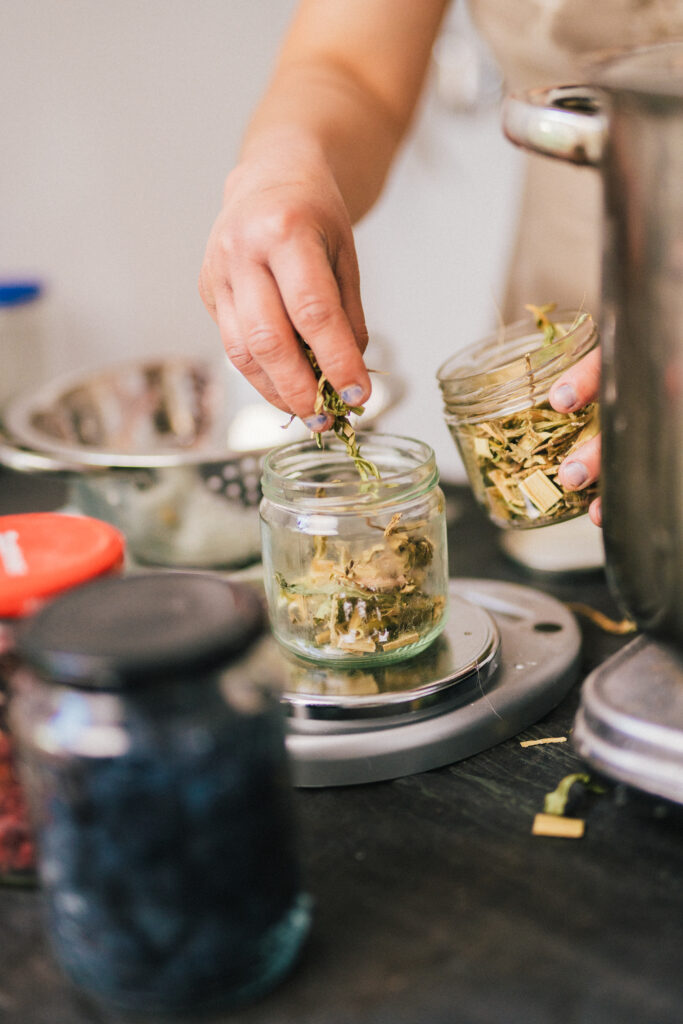
Step 1: Weigh your natural textiles and your natural dyestuff.
Take the clothing you want to dye and weigh it (dry!) with your kitchen scale. Write down this measurement!
For the best colour results, you should use about the same weight of fresh dyestuff (e.g., the butterfly bush you just picked from the garden) as the textiles. If you have dry plants, use half the weight of your textiles!
Step 2: Scour and mordant your textiles.
To make your finished product more colourfast, I recommend that you scour and mordant your clothing before dyeing. (Basically, this just means cleaning it & giving it a treatment to make the colour stick!) Using the methods recommended in our Living Colour with the Five Elements online natural dyeing workshop will help your new textiles stand up to sunlight and washing!
You can also simply wash your textile well with warm water and lots of soft, pH-neutral soap or biodegradable detergent. Just keep in mind that the colours won’t be as intense or long-lasting as textiles that have been scoured and mordanted (pre-treated properly)!
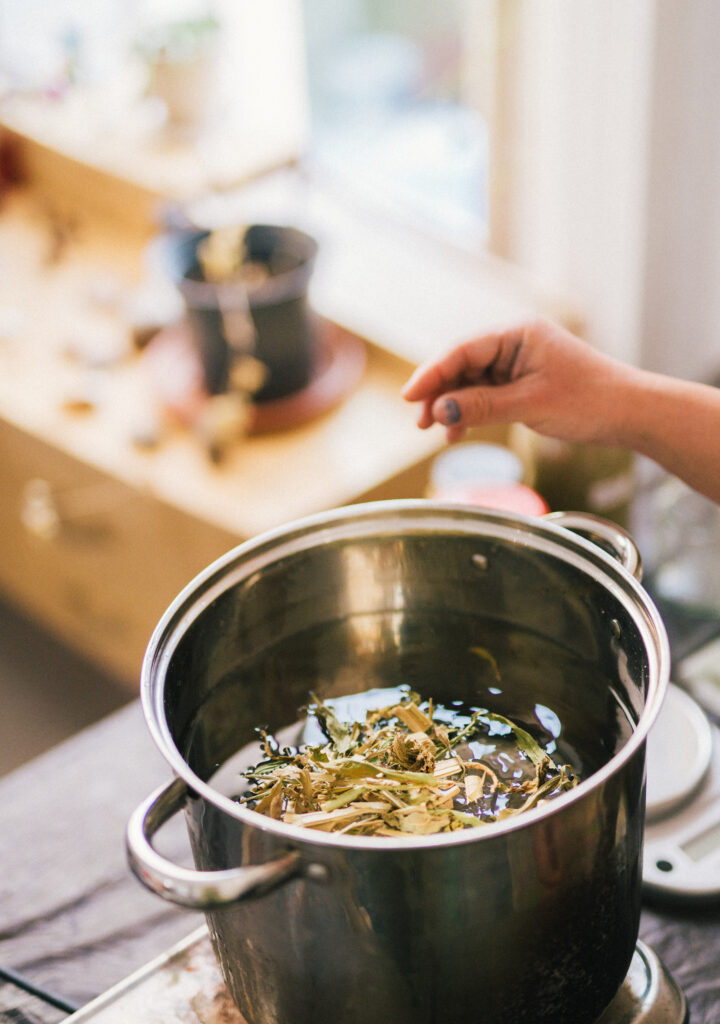
Step 3: Place your dyestuff in your dye pot, add water until covered, soak, and simmer (not necessarily in that order).
The type of dyestuff you have will slightly change your order of operations here.
If you want to extract colour from flowers, leaves, or soft stems, bring them to a simmer and keep simmering for one hour. You can continue the dye process as soon as the water returns to room temp, but it’s really best to practise patience (however difficult!) and let it sit overnight.
If you’re using wood chips or pomegranate skins, soak them for at least a night before the hour of simmering. The longer you soak, the more intense your colours.
Strain your dyestuff with the sieve or colander/cheesecloth combo, keeping only the liquid, and voilà! Natural liquid dye.
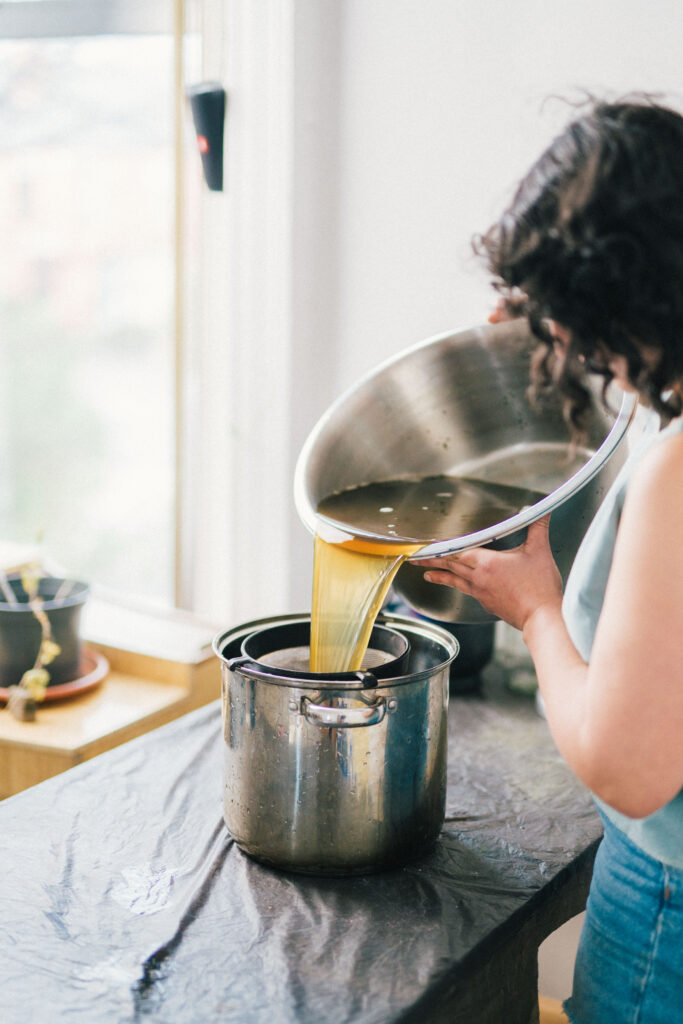
Step 4: Soak your textiles in water, take them out, and add them to the dye pot.
Soak your natural fibre clothes in plain water for at least half an hour before dyeing. This helps to make the colour uptake even, avoiding stains.
Then, take them out of the soak pot and add them to the dye pot. Add more water if you need to. The textiles should be completely covered and able to move freely.
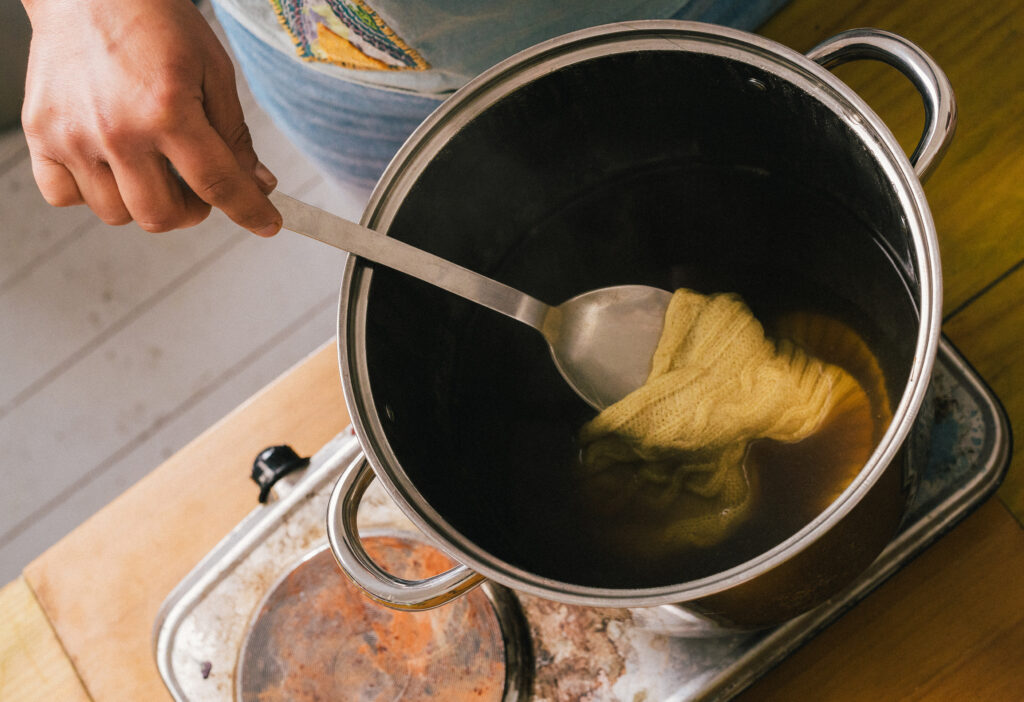
Step 5: Simmer your textiles in the dye for one hour.
Bring the pot with the textiles and dye to a low simmer. Stir gently, but constantly so that the dye absorbs evenly.
The bath should not go over 60ºC. If you don’t have a thermometer, keep it at the point where there’s lots of steam, but no bubbles.
After an hour, turn off the heat. Let the contents of the pot return to room temp, and if you can, let it all steep overnight with the lid on.
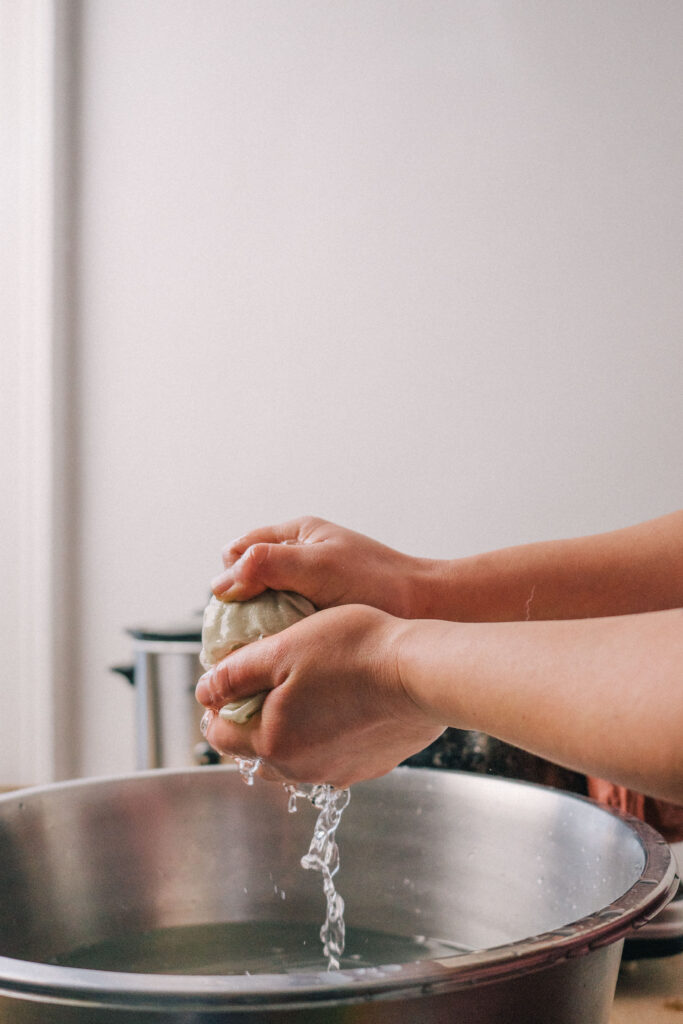
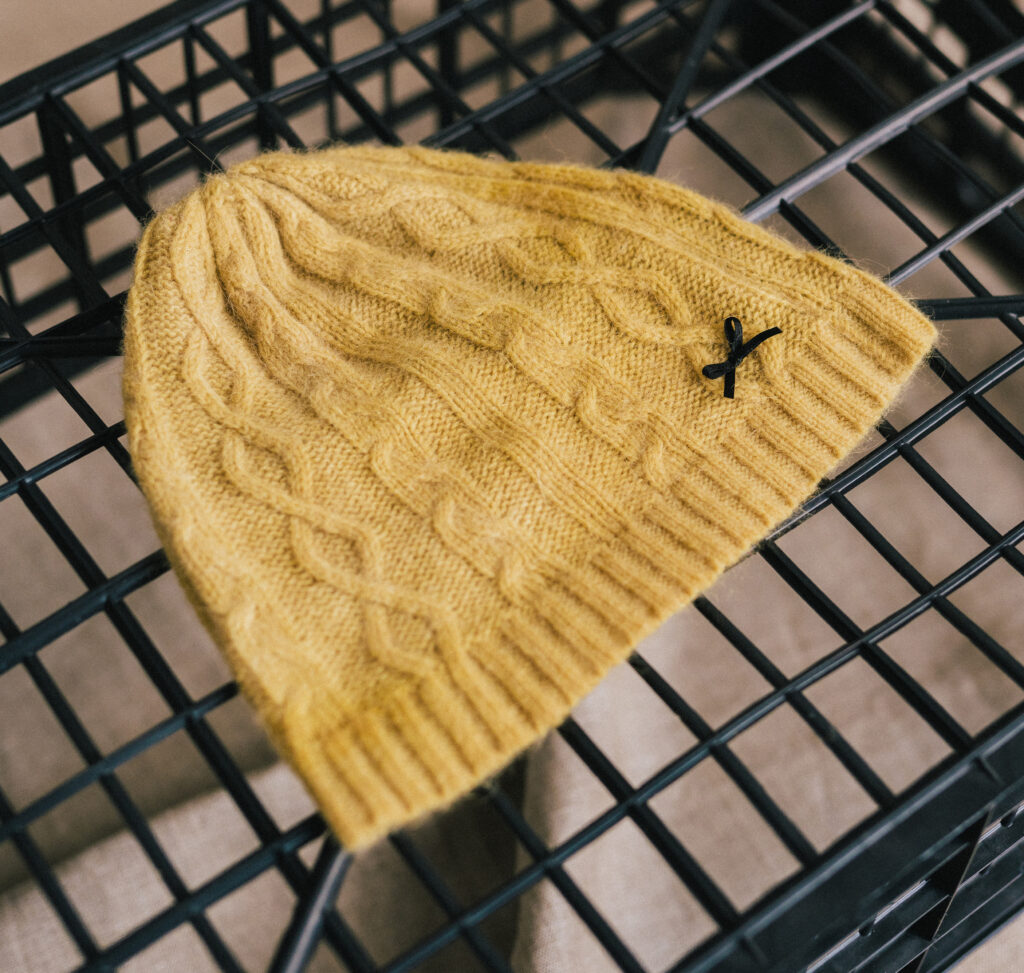
Step 6: Rinse, dry, and take it all in!
Rinse your freshly dyed fibres under running water until it runs clear.
Leave it to dry away from direct sunlight (always dry wool flat!).
That’s it! You’ve gotten through every step of how to dye clothes naturally. Pat yourself on the back and, if you’re like me, start thinking about your next big project!
You don’t have to learn how to dye clothes naturally on your own.
You have the basics of the 6 steps to natural textile dyeing down, but there’s always more to learn.
Different techniques can produce different results and textures, various dyestuffs have their own tips and tricks, and some textiles have different best practices for the best colour uptake.
Our detailed Living Colour with the Five Elements online natural dyeing workshop covers all this and more. I’m passionate about sharing my knowledge with everyone who wants it, and I hope you find it useful!
The movement to reconnect with the planet’s natural cycles, return to slow living, and find joy in creating with your own two hands is alive and well, and I’m proud to be a part of it.
Pin this post!