


This is your sign to plan your wardrobe around Nature’s palette
This year we are committing to one of the most sacred and profound relationships that we have – and that is our bond with Mother Nature. There is a beautiful and cyclical offering between Land and humans where we come together to turn old garments into something new through natural dyeing. And so, take this as your gentle sign to transform your garden into an oasis for natural dye plants.
Learn how to start a dye garden in your backyard, and let’s nurture that relationship with nature!
What is a dye garden?
To put it simply, a natural dye garden is an eco-friendly garden that gives life to plants that are harvested for their natural dye pigmentation. Dye gardens offer you the most beautiful opportunity to cultivate your own colours, harvest your true inner artist and weed out any doubts you have about your ability to create.
By learning how to start a dye garden, you are not only solidifying a relationship with the Land but contributing to a greener, more sustainable tomorrow!
How do you start a dye garden?
Picture this: you look out into the vastness that is your own hand-grown, plant-filled garden that makes the most lively, light dyes that are all eagerly awaiting your next creative adventure.
However, before you can explore the artistry that resides just outside your window, you must first approach creating a dye garden with grace.
While learning how to start a dye garden is rather simple, it does require a level of patience, perseverance and observation. Soon you will be welcomed by lush flower-filled landscapes if you choose to humbly approach this journey in connection with Mother Earth.
To help create an organic oasis within the confines of your home, here is a detailed guide on how to start a dye garden:
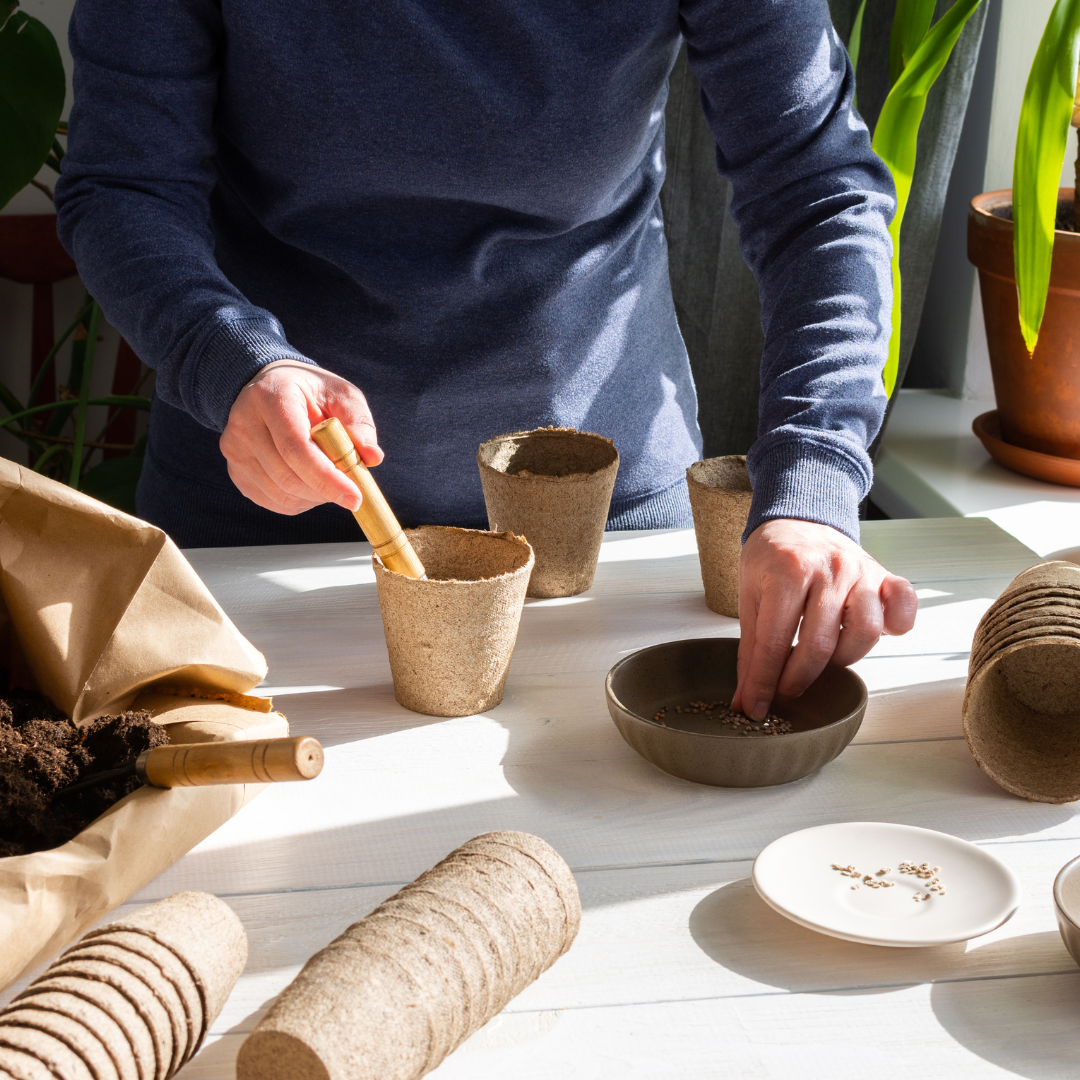
#1: Start off small
It can be incredibly tempting to grow enough dye plants to dye every piece of fabric you have ever owned – I totally get it! Creating your own naturally hand-dyed garments is an incredibly empowering and uplifting process, however, it’s best to embrace this process one plant at a time.
Give yourself time to get to know your dye plants. Once you understand their temperaments and needs, you can begin increasing the number of plants you grow each year. This way, you are also not easily overwhelmed by caring for too many plants at the same time. Each one will demand your time and care.
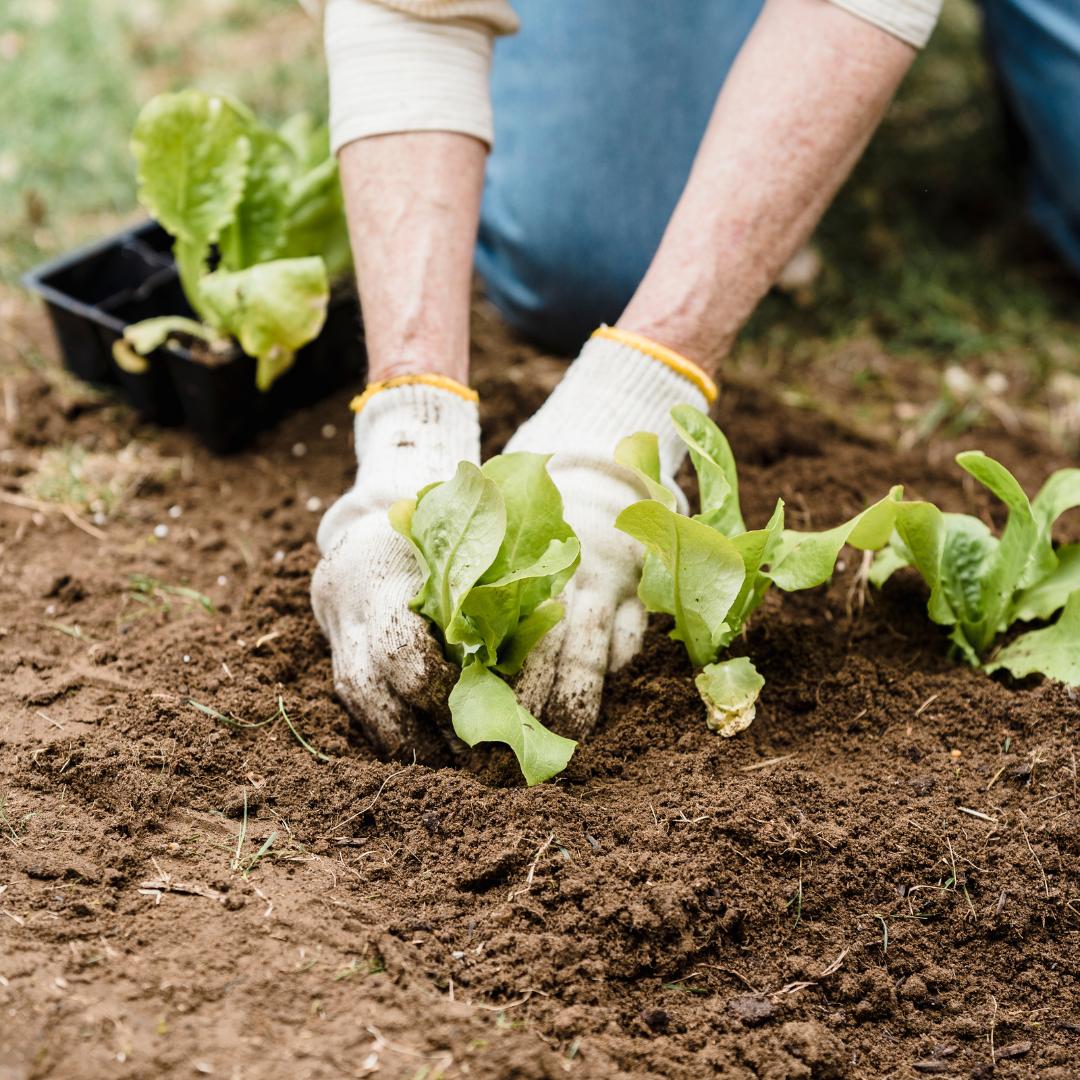
#2: Root your plants in the perfect soil
There is a delicate vernacular to soil. Mother nature has granted soil a language of its own, and if you aren’t fluent in it, you run the risk of serious misunderstandings. This leads to an unsuccessful dye garden. And so, in order to support adequate communication between you and the Land, it is important that you understand what kinds of soil your dye plants will need.
In my experience, I have found that mixing 1:2 potting soil with regular soil works tremendously well. Most dye plants are wild by nature, so they will thrive in this kind of soil combination. Also, keep in mind that some dye plants flourish better in pots prior to being placed in the ground.
Learn the soil that works best, and both you and your plants will absolutely thrive!
#3: Speak the language of your dye plants
Learning how to start a dye garden is all about open communication. Every plant has a language of its own. Some require additional sunlight, whilst others flourish in more shaded areas.
You will also need to consider the individual water needs of your dye plants – especially if you are in an area that is prone to drought. The opposite is true too, though! It’s hard to grow desert plants outside in wet, rainy Ireland, for example!
The secret to success lies in creating your plant’s favourite growing environment. To make this process easier, I highly recommend placing all similar dye plants in the same area so that you can attend to them all at once. Easy peasy!
#4: Begin choosing your dye plants
This is where the real fun begins!
To help you navigate all of these multi-coloured opportunities, I have created a little colour guide.
True blue:
- Indigo (Indigofera tinctoria, Indigofera suffruticosa or Indigofera australis)
- Japanese indigo (Persicaria tinctoria)
- Woad (Isatis tinctoria)
Red:
- Madder (Rubia tinctorum)
- Wild madder (Rubia peregrina)
- Eucalyptus (Eucalyptus spp.)
Yellow and Orange:
- Black Eyed Susan (Rudbeckia spp.)
- Coreopsis (Coreopsis tinctoria)
- Dyer’s chamomile (Cota tinctoria)
- Dyer’s greenweed / Dyer’s Broom / Woadwaxen (Genista tinctoria)
- Eucalyptus (Eucalyptus spp.)
- Goldenrod (Solidago spp.)
- Marigold (Tagetes spp.)
- Safflower / Saffron (Carthamus tinctorius)
- Sulphur cosmos (Cosmos sulphureus)
- Tansy (Tanacetum vulgare)
- Weld (Reseda luteola)
- Yarrow (Achillea millefolium)
Purple, pink and teal:
- Black Knight Scabiosa / Purple Pincushion / Sweet Scabious (Scabiosa atropurpurea)
- Black Hollyhock (Alcea rosea)
- Hopi Black sunflower (Helianthus annuus)
- Mahonia (Mahonia spp.)
- Safflower / Saffron (Carthamus tinctorius)
I recommend starting off with only 3 – 4 plants to start off with (see tip #1 again). Remember not to take on too much too soon!
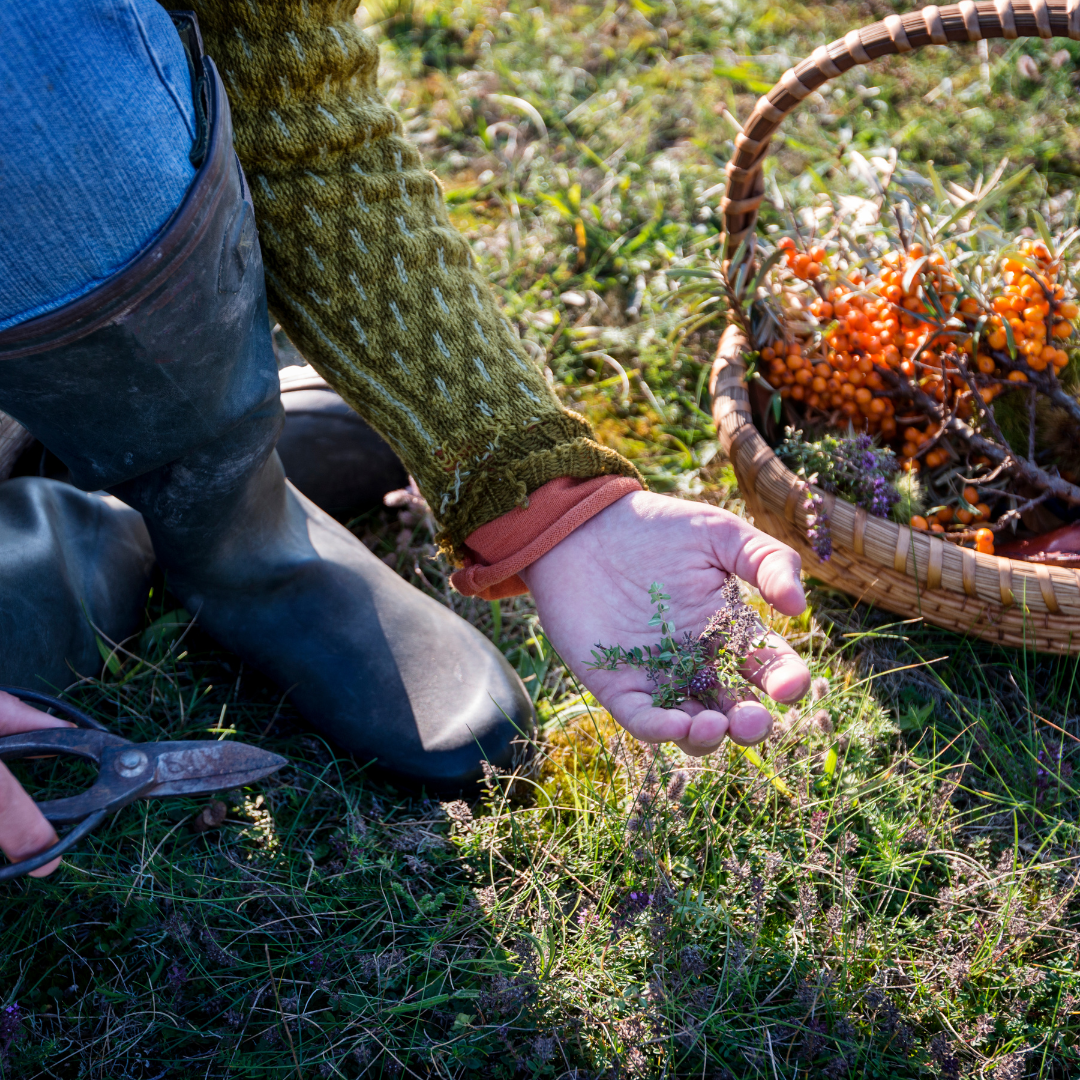
#5: Begin foraging, harvesting and re-seeding
I know that at this stage you have been absolutely dyeing to get started on your next dye project – and now is your time to shine! All of your patience, care and perseverance will begin to pay off, as it is now time to play with the fruits (and leaves) of your labour.
Once you have given your plants a moment to mature and grow, you can begin harvesting them for your next dyeing expedition. But before you begin uprooting these plants from their home, keep in mind that you also share your garden with other creatures such as bees and birds! With this in mind, I recommend a staggered harvest instead of taking it all in one go, so there’s always some food available for pollinators and other critters.
I personally recommend only harvesting about 80% of your dye plants for colour. This means that you have enough left over to save seeds. And any parts of the plant that you can’t reuse can go straight into your compost pile – yay!
Where to get dye plant seeds
- Australia:
- Canada:
- France:
- Ireland:
- Mexico:
- Portugal:
- UK:
- USA:
Learn natural dyeing using natural resources with me
From our beautiful lands to your precious hands, Mother Nature gives us all we need to explore our creativity and artistic flair. And when we come together to explore this side of ourselves, we unlock magic.
I encourage you to join my community as I help further guide you in your journey towards sustainable fashion through my natural dyeing online course. It will enrich you with the knowledge you need to continue living in a way that’s best connected to the Earth.


