Clothing waste is a huge problem – but are we aware of how huge?
We’re often missing the cold, hard facts about clothing waste. Even sustainable brands want you to buy, not stop buying. I want to teach you how to mend holes in your textiles instead.
Would you believe me if I told you that people don’t wear at least 50% of their clothing? What if I said that almost everyone is completely delusional about how much they actually wear?
It’s all true.
This not-so-fun fact holds true across the globe, before we start pointing fingers. Belgians, Americans, people in Ireland – we’re all buying more than we use.
If that sounds like a problem to you, read my article about how to build a capsule wardrobe the sustainable way – it’s the A to Z to tackling your clothing waste right where you are, right now. If you have a lot of extra clothing, don’t worry about it! My favourite tips for making good use of your no-longer-loved items are in the post too.
We stop wearing the clothes we buy for lots of reasons. Maybe it never fit right, and we forgot to return it. Or our tastes changed, or it was an ill-advised impulse buy.
Or maybe, it’s damaged.
I’m a huge proponent of fixing pieces you love. One of the most simple places to start is by learning how to mend holes. It’s not as hard as it sounds – I’ll prove it.
First up – how to mend small holes in jumpers or knit items.
Mending small holes in jumpers or knit items seems the most intimidating, because of the fear that your entire garment will unravel.
I have nightmares about pulling oneeee loose thread, and it keeps going forever until I end up with a huge pile of string that won’t stop! (just me?)
But it’s actually remarkably easy to mend jumper holes so well that they’re basically invisible.
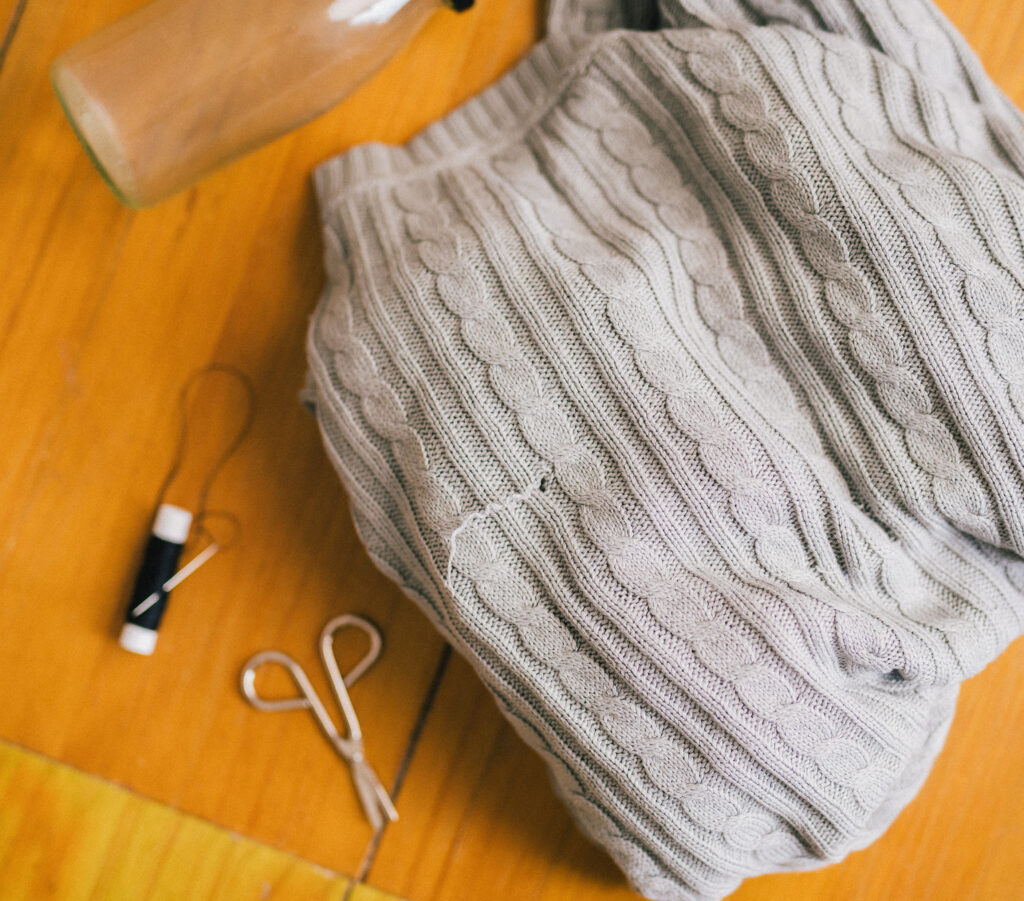
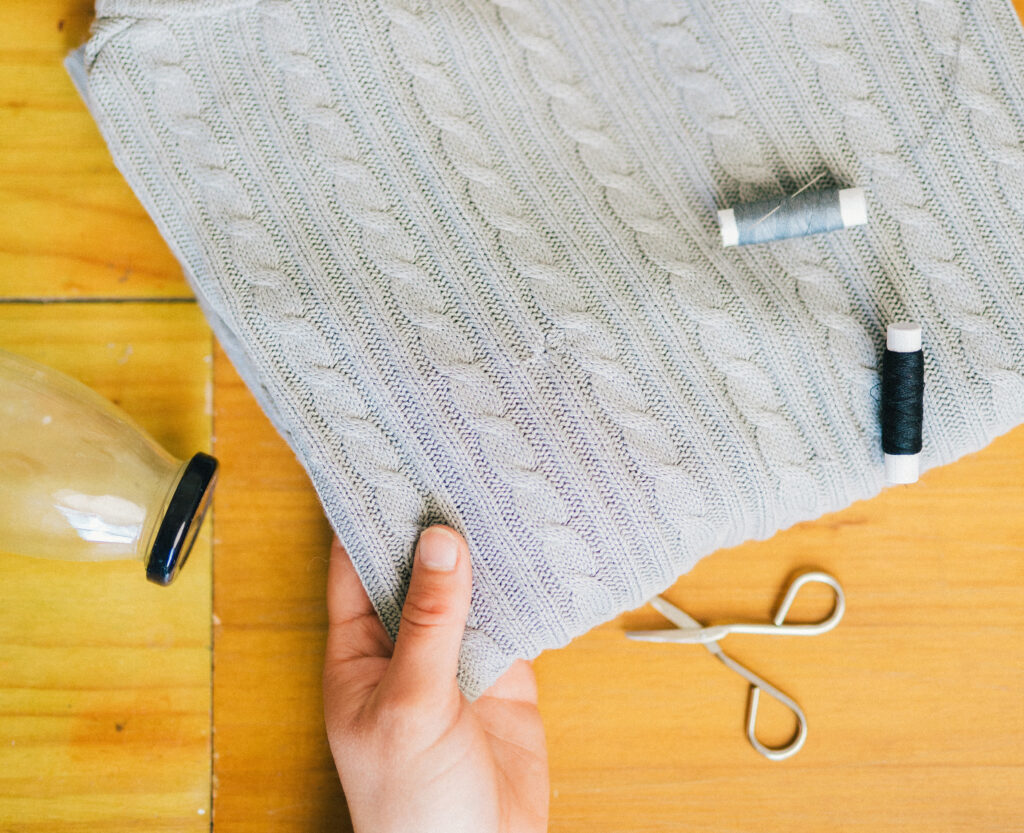
You’ll need:
- A needle
- Thread (most people like matching thread colours. But on the right piece, a patchwork look can be just right)
- Scissors (Don’t use your teeth! It’ll be fine every time, up until the day you get a new chip in your front tooth)
- A rounded surface like a water bottle. Or, if you’re a purist, a darning egg
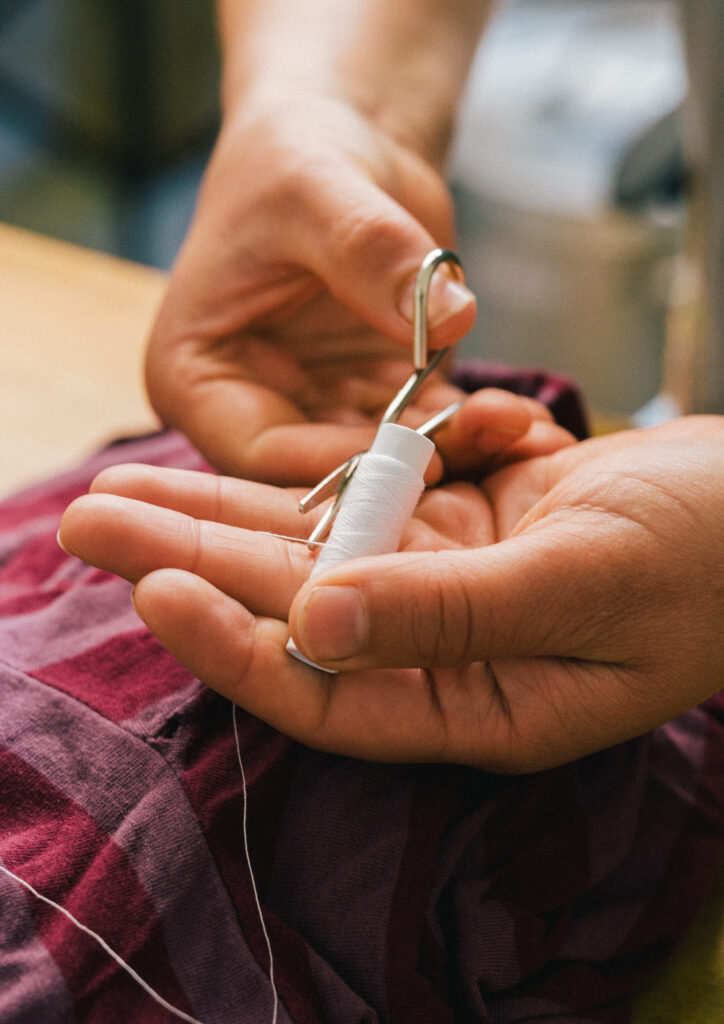
Step 1: Thread your needle, double the thread, and tie a knot.
Threading your needle is the hardest part of this entire process.
Get about 60cm of thread (to be safe), and thread your needle. Then tie the two ends of the thread together. Any knot works, it won’t be visible.
![]()
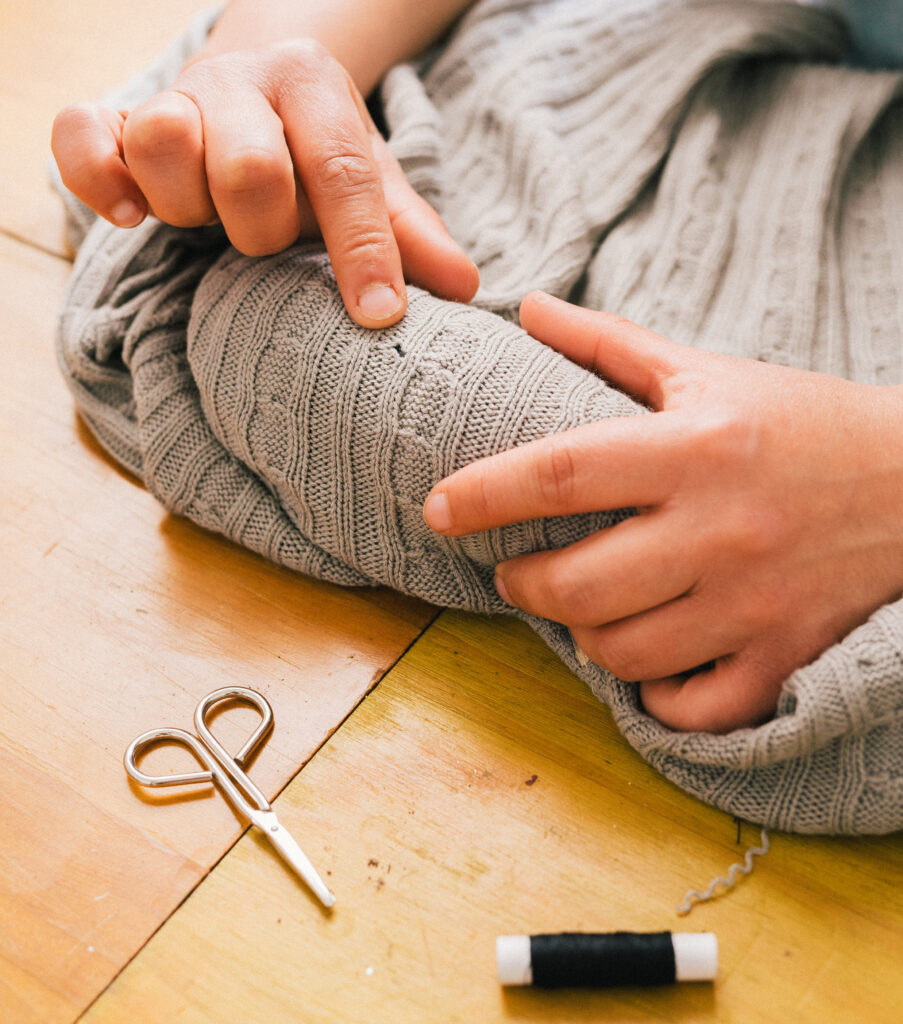
Step 2: Flip your jumper inside out and lay it over your darning egg.
The darning egg (or water bottle, or your own knee – but be careful with that one) should be visible through the hole.
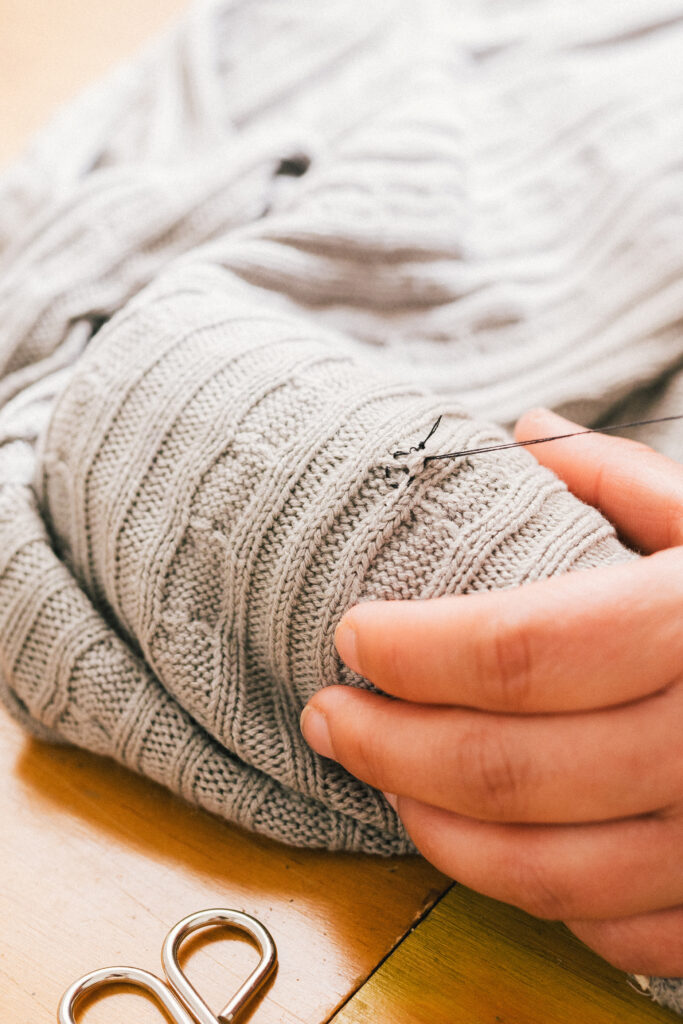
Step 3: Gently stitch around the perimeter of the hole – don’t pull tight!
Sew gently in a circle around the perimeter of the hole, a few millimetres from the edge. This will give the rest of your thread something to grab onto that isn’t the fragile, broken original knit.
So, no need to pull the thread tight.
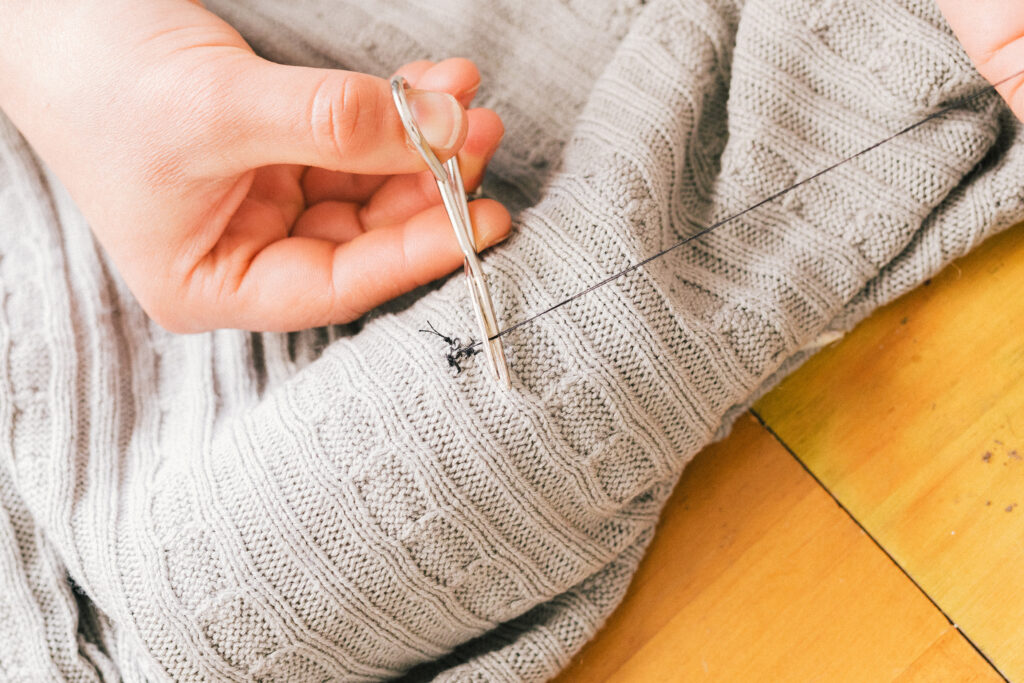
Step 4: Sew a lattice over the hole’s surface.
This just means sew back and forth over the hole, hooking around the perimeter thread you just laid down. First, go horizontally back and forth, then up and down.
Think a picnic basket, or the lattice top of a pie.
Pull the hole closed, but not too tightly – you shouldn’t see any puckering. You can increase firmness a little bit once you’re weaving through your own thread! But you’ll never need to pull hard. Tighter ≠ stronger!
For extra strength, just repeat this step.

Step 5: Tie it off!
You’re all done! Thread your needle under one of your stitches and pull the loop almost closed – then thread the needle through your new hole, and (finally!) pull tight. Repeat this as many times as you like – at least twice, to be safe.
Are you a visual learner? Me too. I recorded a quick video of this mend so you can see what I mean and follow along with the steps.
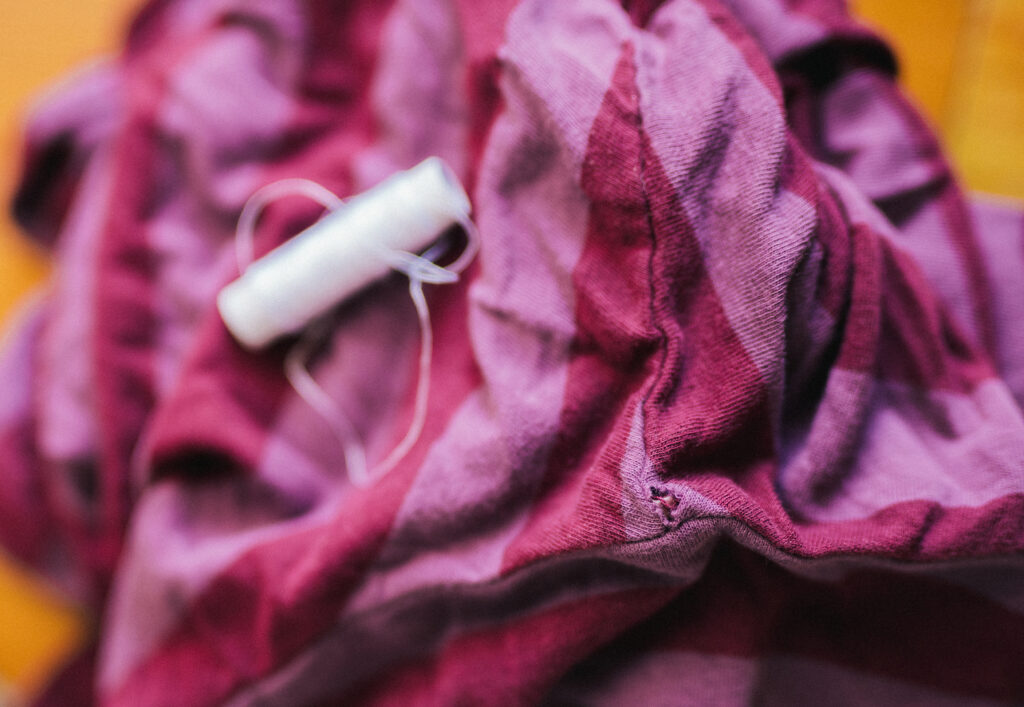
Here’s how to mend small holes in your favourite basics, like t-shirts.
T-shirts get a lot of wear and tear, which means they’re often ripping at stress points and seams. So, this is a quick how-to for sewing up ripped seams like they were never damaged.
To repair your very best basics, you’ll need:
- A needle
- Thread
- Scissors
Step 1: Thread your needle, double the thread, and tie a knot.
Déjà vu, anyone?
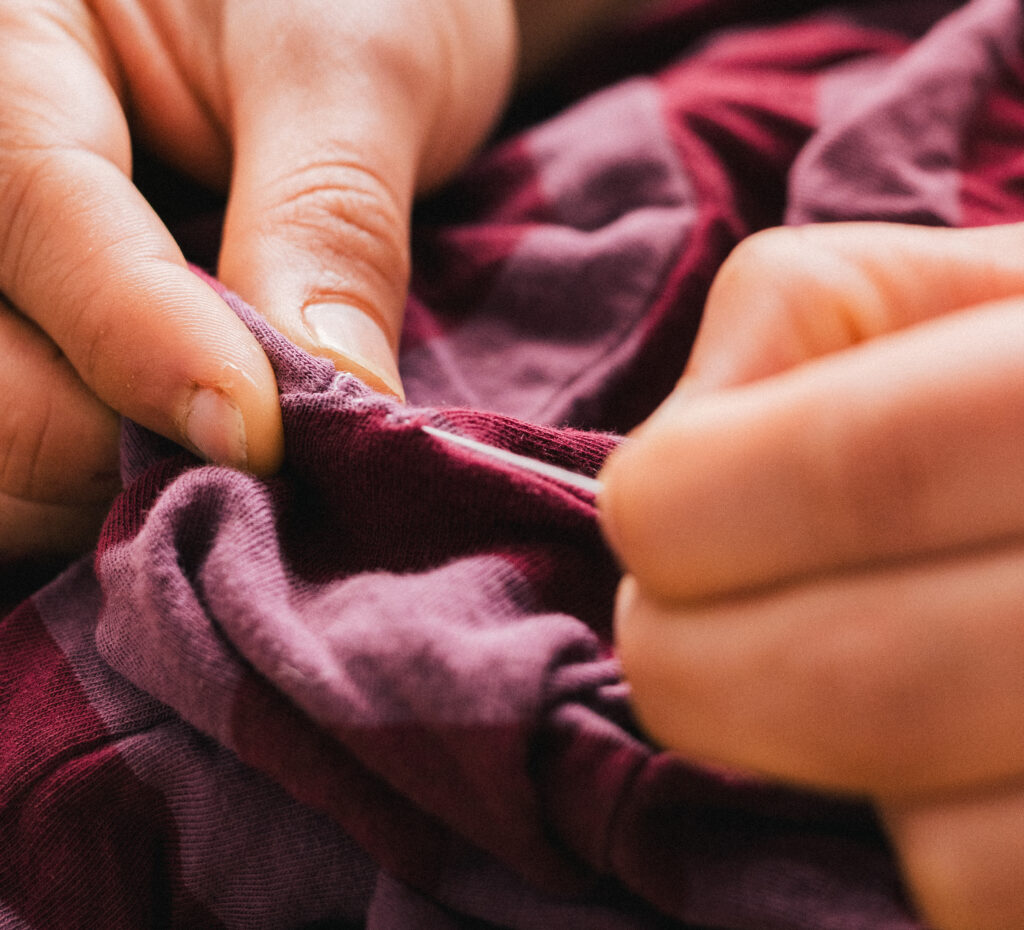
Step 2: Pull your needle and thread through from the inside.
From the inside of your t-shirt, pull your needle and thread through to get a starting point. This is to hide the knot!
Your starting point should be a few millimetres under and to the side of the start of the hole or rip.
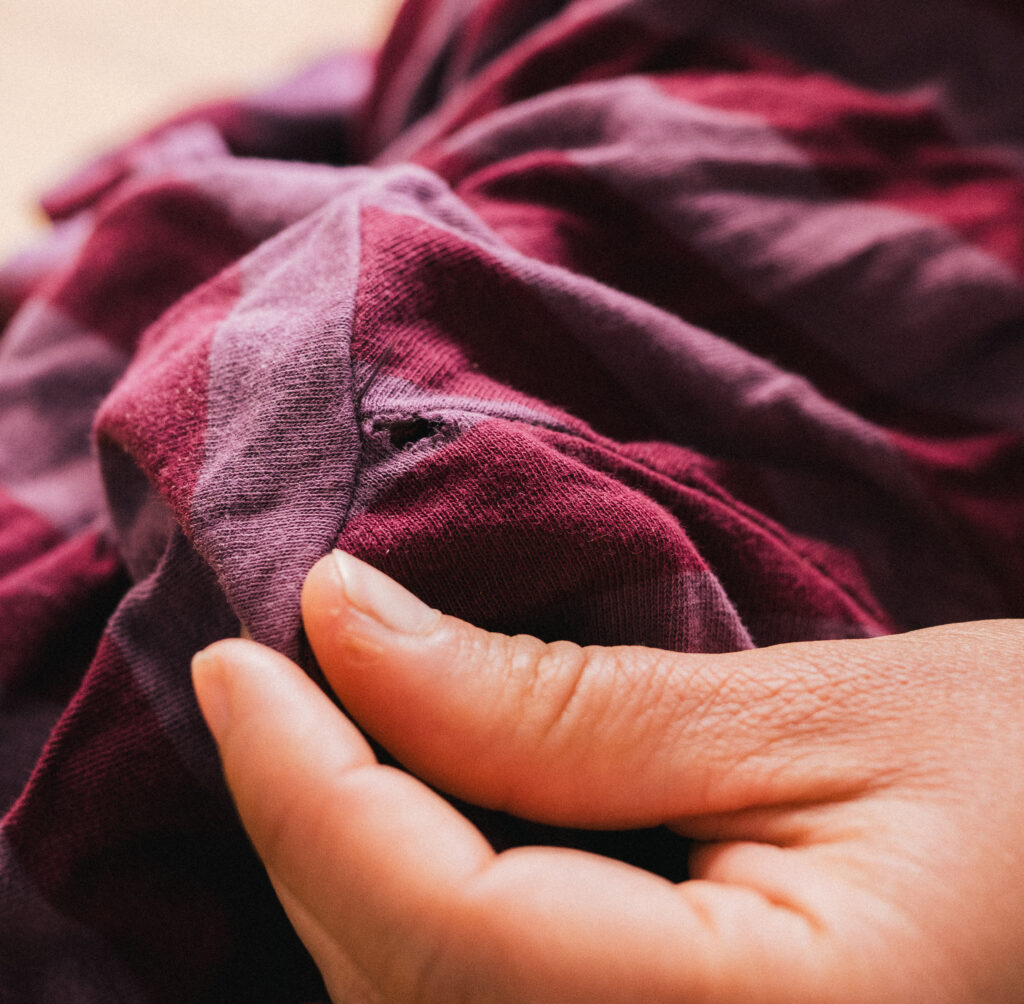
Step 3: Ladder stitch over the length of the hole.
You’ve got your needle and thread ready to go. Now, cross the ripped hole horizontally to a few millimetres from the edge on the opposite side.
Poke your needle through just a few of the original threads. You should be able to see almost the entire needle. Then, pull the thread through – but not tight!
Then cross back over, 2 or 3 millimetres higher than the first starting point. Do the same thing – poke under & over just a few original threads and pull your thread through.
Repeat the process until you’ve covered the entire length of the hole. Do your best to follow the old stitch.
Don’t pull the thread tight. You should be able to see all the exposed thread like a ladder (there it is), covering the entire rip.

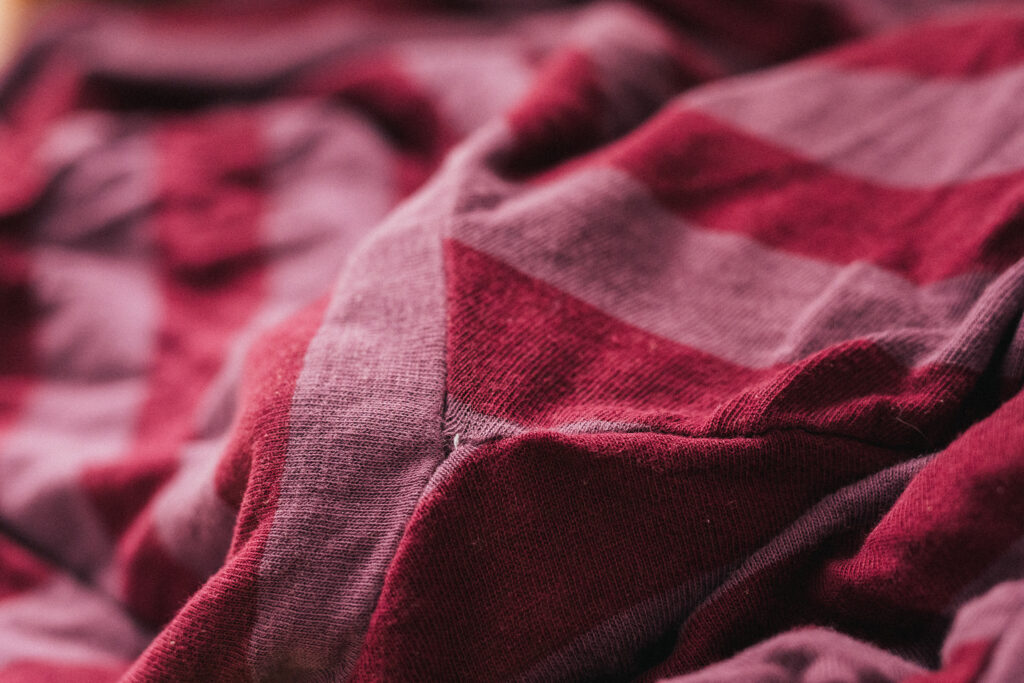
Step 4: Gently pull your thread through.
Pinch the undamaged side of the garment so it doesn’t move, and gently pull your thread all the way through. Your stitches will disappear like magic, making a brand new seam.
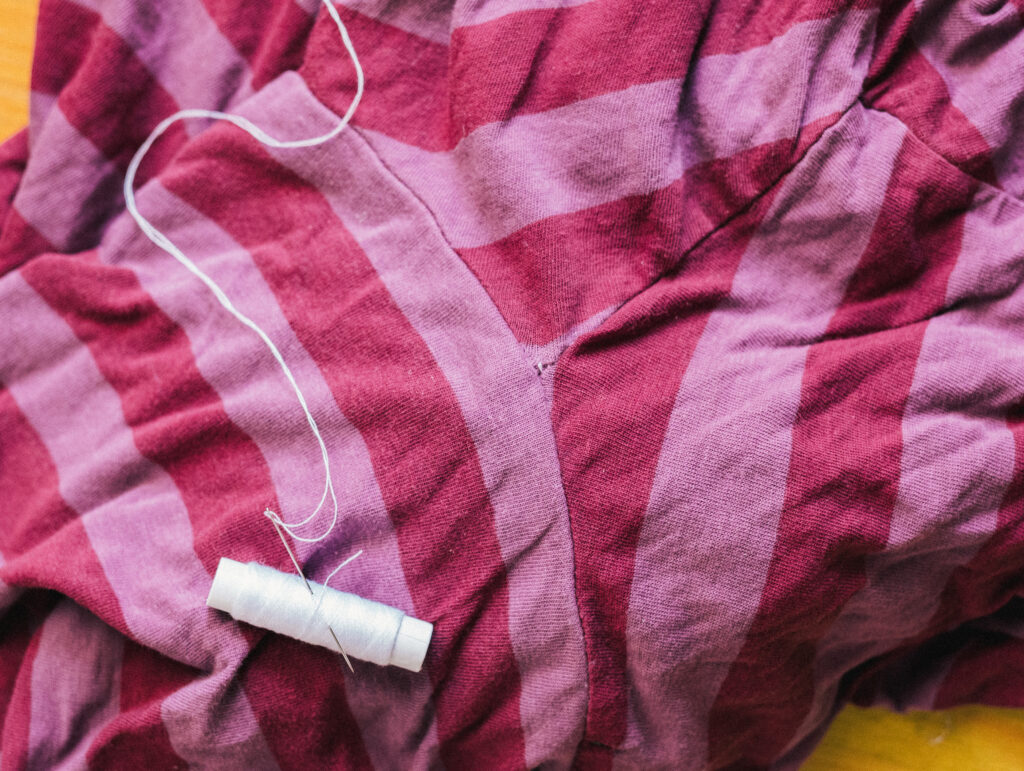
Step 5: Tie a knot!
You’ve done this before (see the previous step 5!).
I made another video illustrating how to do this repair, too! I think it’s a lot easier to follow along.
In the video, I also finish off the hole with a blanket stitch, if you want a little extra strength. It’s not always necessary, but it’s a nice touch.
Learning how to mend holes in your clothes can get you far.
Your first time succeeding at giving your old favourite piece of clothing a new life is a unique thrill.
It taps into so many sources of joy: being self-reliant, building confidence in yourself and living your values.
Of course, there are more than two types of clothing in the world.
If you’re amped up on all things self-reliant sustainability, you’re in good company.
Mending your old clothing and textiles is one of the best ways to keep your wardrobe lasting longer and keeping our planet just a little cleaner. But it’s not the only way!
I’m here to help other people take control of their impact on the Earth, and I love meeting people who are as excited about it as I am.
If you want to dive deeper into creating sustainable textiles and repurposing old clothes, you can check out my Living Colour with the Five Elements online natural dyeing workshop. I hope to see you soon!
Pin this post!