


Eco-printing on fabrics is your gentle reminder to not only seize the beauty that exists in the world, but to recreate it yourself.
Whenever I’m cooking in my kitchen, collecting waste for recycling, creating my own wholesome dye garden, or exploring my creativity I always have sustainability on my mind, so it’s no surprise that exploring new eco-friendly textile techniques is one of my favourite pastimes.
My latest obsession? Eco-printing on fabrics!
Printing Nature onto various materials is not only a newfound passion of mine but another excuse for me to devote my time and energy to the research and discovery of new techniques that develop into the most inspiring pieces.
Eco-printing on fabrics truly is the most humbling and rewarding art form, and I can’t wait to guide you in this journey as you witness the beauty of creating with your hands whilst contributing to sustainable, slow fashion.
What is the eco-printing on fabric technique?
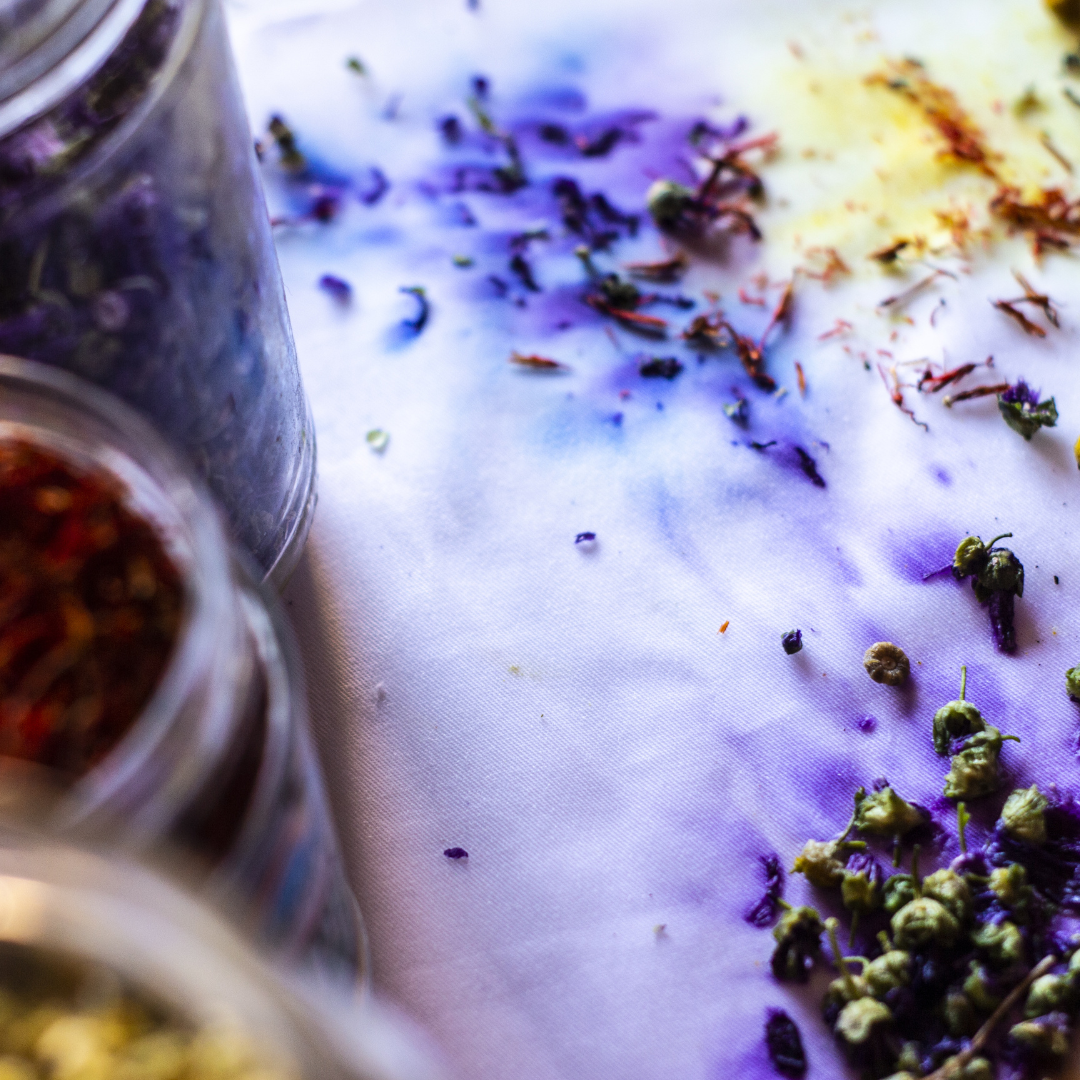
Eco-printing, otherwise also fondly referred to as flower printing, is another beautiful and intentional type of natural dyeing where flowers, shrubberies and plants leave their unique and wonderful shapes, colours, and marks on a piece of fabric.
Once you’ve placed your dyestuff onto your natural fabric, the material is then steamed or boiled in order to gently release all of the glorious dye that’s naturally housed inside your plant. The result is the most wonderful, one-of-a-kind contact print in the shape of the leaf, plant or flower that you used.
What fabric can you use for eco-printing?
For all beginners, I highly recommend that you start your eco-dyeing journey with protein fabrics, like wool or silk. They will give you the best results without too much effort. Now, if you are a little more advanced in natural dyeing or simply enjoy a challenge, I encourage you to try using a cellulose material like cotton, linen or hemp. Using these materials is a little more labour-intensive but absolutely worth it!
At the end of the day, when picking out a fabric to use, keep in mind that you want the fabric to be 100% natural, medium weight, un-dyed or bleached and easy to handle. This way, you sidestep any potential hiccups throughout the process.
Can you wash eco-print fabric?
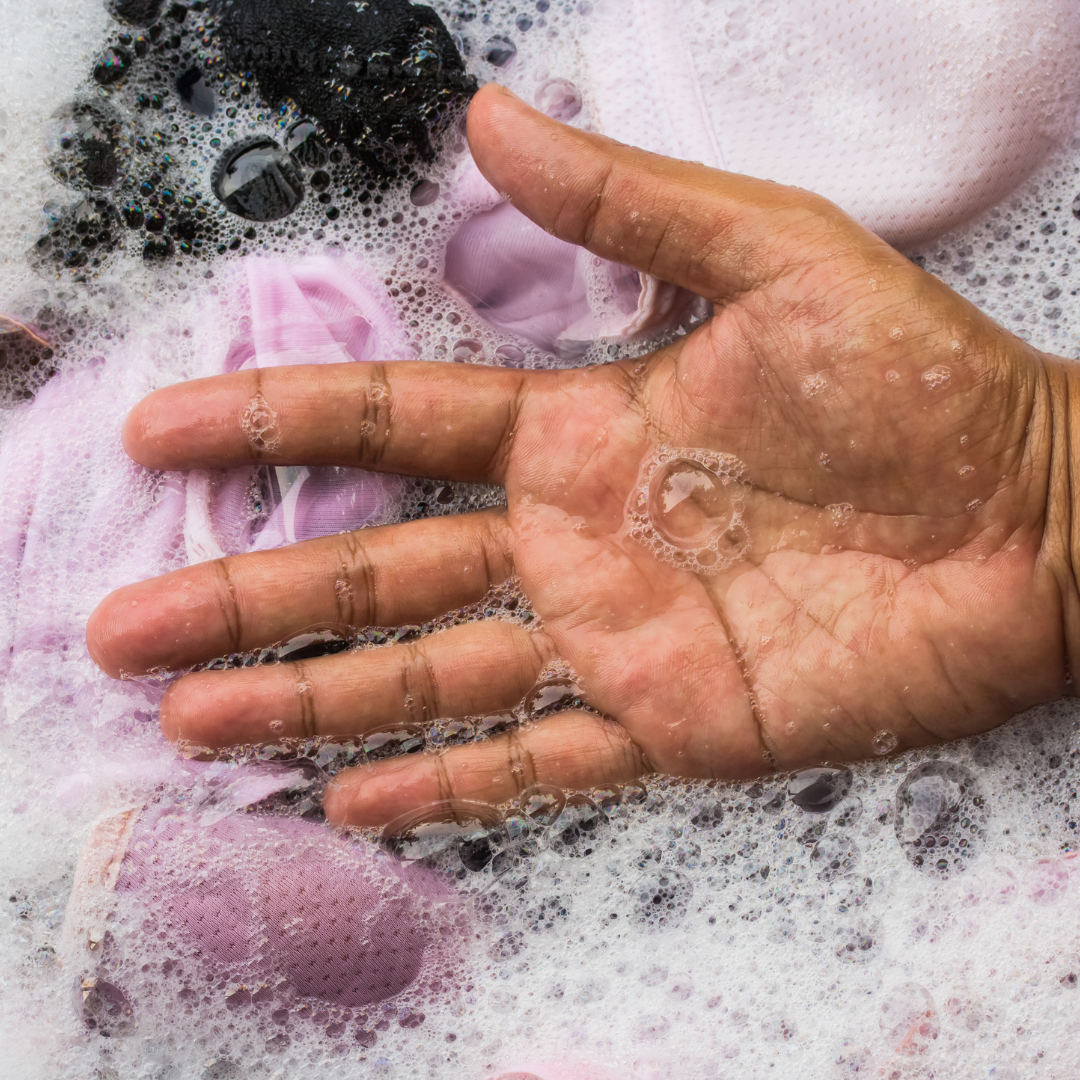
After embarking on a labour-intensive process, it’s natural to be curious about preserving and caring for your fabrics, which is why I always encourage my fellow natural dye lovers to hand wash their eco-printed garments. It is the best way to retain the vibrancy and overall aesthetic.
With that being said, life happens, which means we don’t always have the luxury of time. In this case, it is totally okay to machine wash your eco-print fabrics – just make sure it’s on a very low and gentle cycle!
It’s also important to remember that most washing powders and soaps are harsh and will strip the colour from your eco-printed fabrics. Instead, switch to a pH-neutral, natural detergent that will gently cleanse and care for your material.
How do I dry my eco-printed fabrics?
When it comes to drying your naturally dyed garments, it’s important to keep in mind that the UV rays in sunlight will rapidly fade your dyes, so it’s best to keep your eco-printed fabrics out of direct sunlight.
Rather, opt to air dry them in a shaded area or at least with the garment turned inside out, if you worry that a bit of sun will reach them.
How to start eco-printing on cotton
Prepare your materials
Before you can begin, you will need to prepare your own iron modifier solution to assist you throughout the process:
- Carefully place a handful of rusty bits (nuts, bolts, nails, etc.) inside a mason jar. (be careful not to cut yourself!)
- Fill the cup halfway with white vinegar
- Fill up the rest of the jar with water
- Loosely screw on the lid and let it sit for at least a week
- When you’re ready to use your iron solution, simply strain the liquor into another container
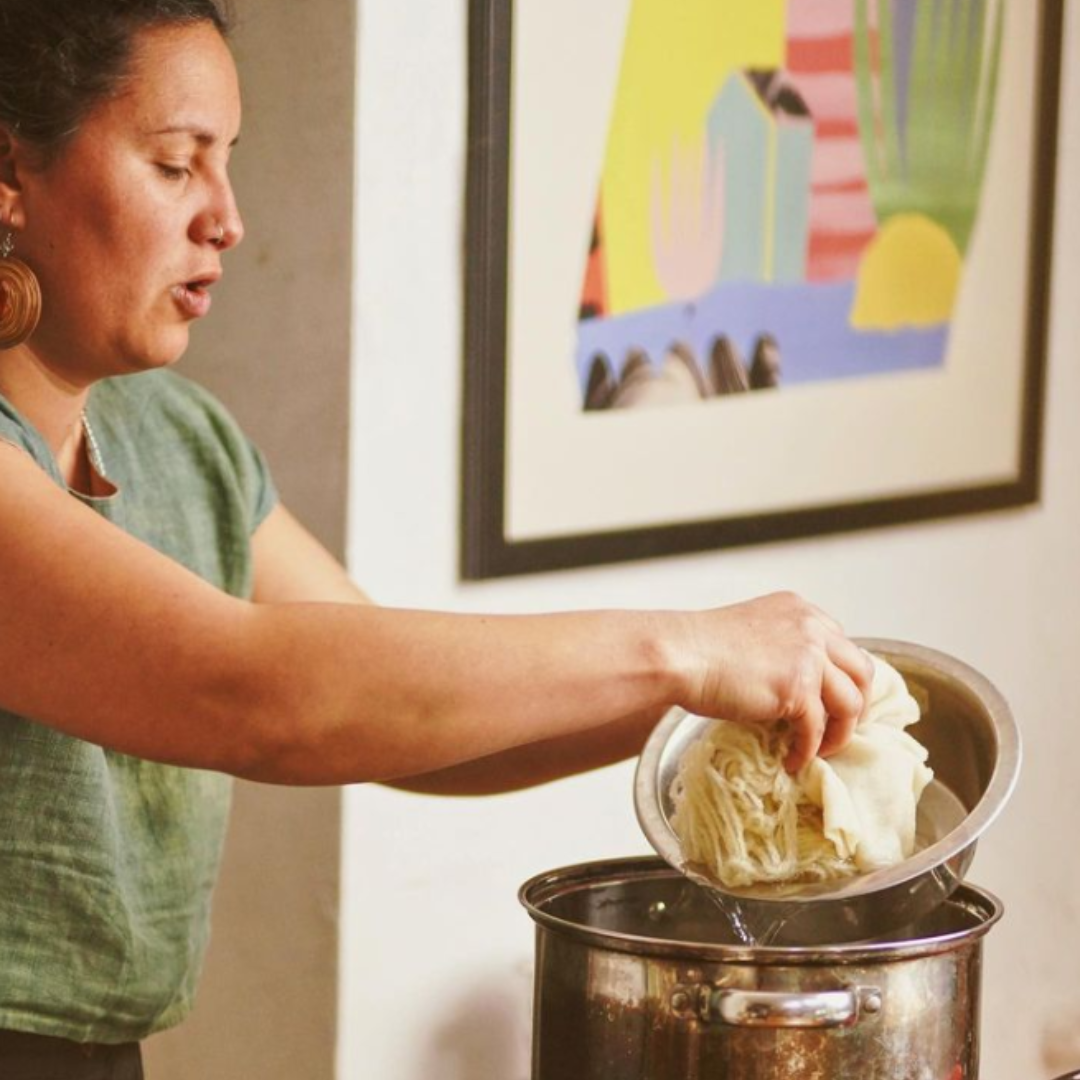
Scour and mordant your cotton fabric
If you are familiar with my blogs or explore natural dyeing yourself, you already know that these two steps are crucial in ensuring that you get the most vibrant, colourfast finished product.
Scouring simply means giving your fabric a deep wash with hot water and lots of pH-neutral detergent or washing up liquid.
This is where the iron solution that we prepared earlier will serve as the mordant for your cotton. That said, you can use other natural mordants like alum or aluminium acetate if you prefer. Remember to always use gloves when manipulating your iron solution, as it can be quite corrosive.
Dissolve your mordant in a bowl of warm water, place your fabric into the pot and let it sit in the mordant water for at least an hour. You can then slowly remove the fabric from the water and gently squeeze out the excess water!
Lay your materials on your damp textile
Whether you are eco-printing with leaves, eco-printing with eucalyptus or any other foliage you’ve found, this is where you get to play and fill in the blanks of your canvas.
Before you begin printing, start by dipping your foliage in your iron modifier solution before placing them on your fabric. Just don’t forget to wear gloves!
With your foraged natural materials in hand, you can now begin to intentionally arrange and lay down your materials onto your fabric. There are no rules here. Follow your heart’s desires and place them wherever you like. As long as you get some good coverage!
Roll it all up
Once you have arranged all of your materials onto your fabric, you will then need to tightly press the cotton and the plants together in order for the colours to transfer. You can do this by slowly rolling your fabric (with the dye materials) around a wooden dowel or copper pipe and binding it all up in a bundle with a string or cord around it to help secure your materials.
Begin steaming your eco-printing fabric bundle
Gently steam your bundle over a medium-heat pot for 2 hours.. Keep in mind that the amount of time that you spend steaming your bundle will determine the overall intensity of your colours – so the longer you steam, the darker the shades will be.
Unravel, dry and enjoy
Once you are done steaming your eco-print, you can remove the tied strings, unravel them and slowly remove all of your dye materials. Rinse with plenty of running water to remove all iron residue. You can then place your garment in a cool, shaded place to dry.
Once your fabric has dried, you can finally enjoy the fruits of your labour!
Eco-printing on fabric is proof that we are in constant flow, communication and collaboration with Nature
Natural dyeing has not only brought me closer to Mother Earth but closer to all of you, as we all share the same passion and desire to learn and create beautiful art forms that work with Nature, for Nature.
If you would like to join me in exploring this further, feel free to join my course, where we learn how to create sustainable, timeless, naturally dyed pieces.
If you would also like to outsource all of your natural dyeing projects, I would absolutely love to assist you there too. I am here to guide and support you.
Alright, that’s it from me today. I look forward to creating with you!


