


Being sustainable with our wardrobe isn’t just great for the environment – it can also be loads of fun, too!
It’s not uncommon to feel that we have to buy new clothes when we come across a garment that isn’t in absolute ‘perfect condition’.
There’s a good chance we have all had this thought in the past, and the fast fashion industry has helped us believe that this way of thinking isn’t a problem at all.
But unfortunately, it is, and it’s a big one.
Buying new clothes every time a garment is no longer perfect isn’t just costly on your finances – it’s costly on the environment, too.
We have an opportunity to start turning this problem around and working with the Earth, and an opportunity to help future generations build a more sustainable future and one that will last.
This is the power of being sustainable within our wardrobes and learning how to fix our own clothes.
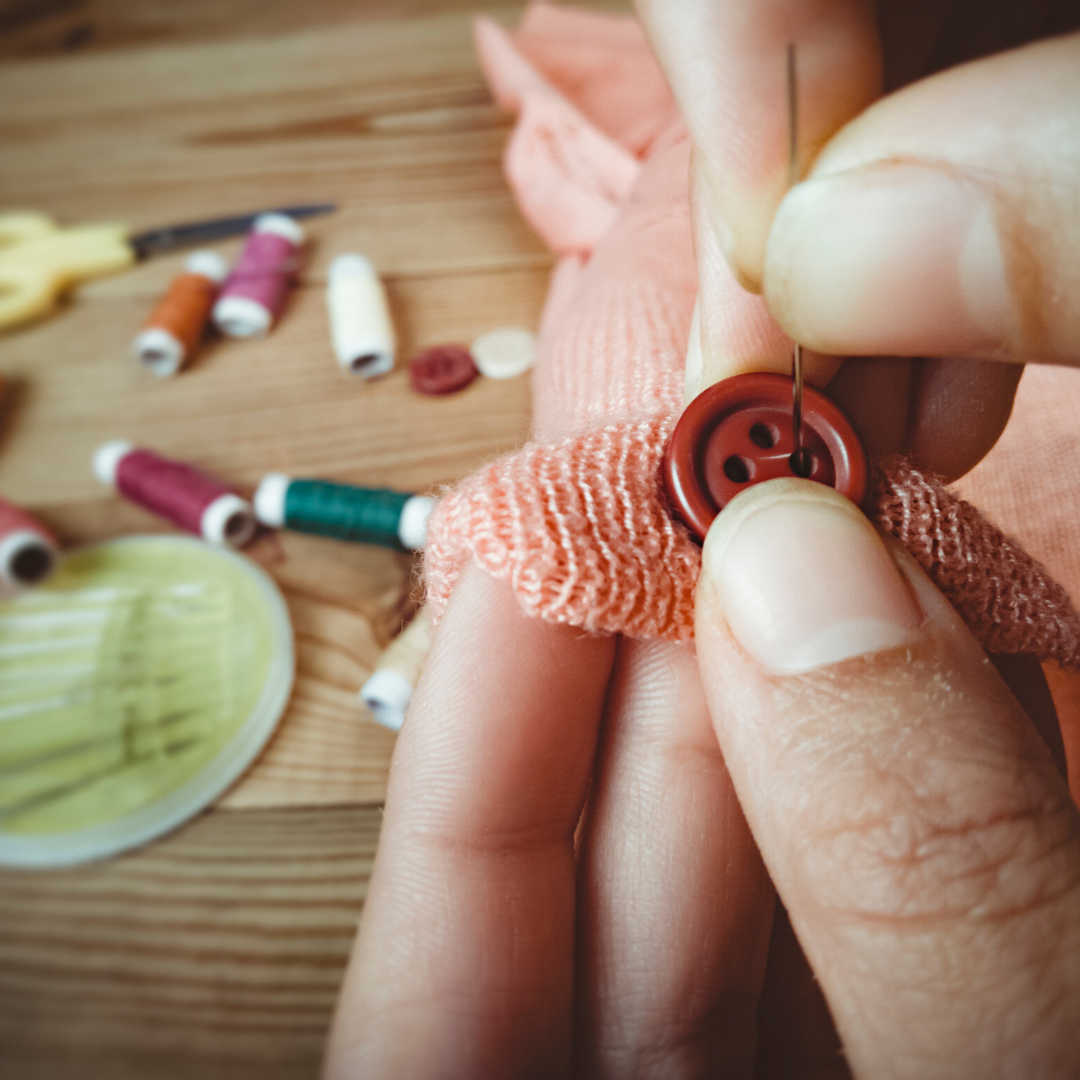
In this article, we are going to explore 5 basic hand stitches for mending clothes and how to make sustainability in your wardrobe a whole lot of fun!
Basic stitching techniques can be easy as pie, once you learn them correctly.
I truly believe that having a clear understanding of how to do basic hand stitches is useful for everyone.
There are so many situations in life where basic stitching is a life saver , whether it’s before a special event, on holiday with friends, or with the kids – having basic stitching skills always comes in handy in some way!
Important tip before getting started with basic hand stitches
Make sure that your garments are washed and completely dry before starting, and if you can, start with a sample stitch on a piece on a cotton muslin before going for the real thing on your actual garment.
Let’s explore 5 basic hand stitches for mending clothes
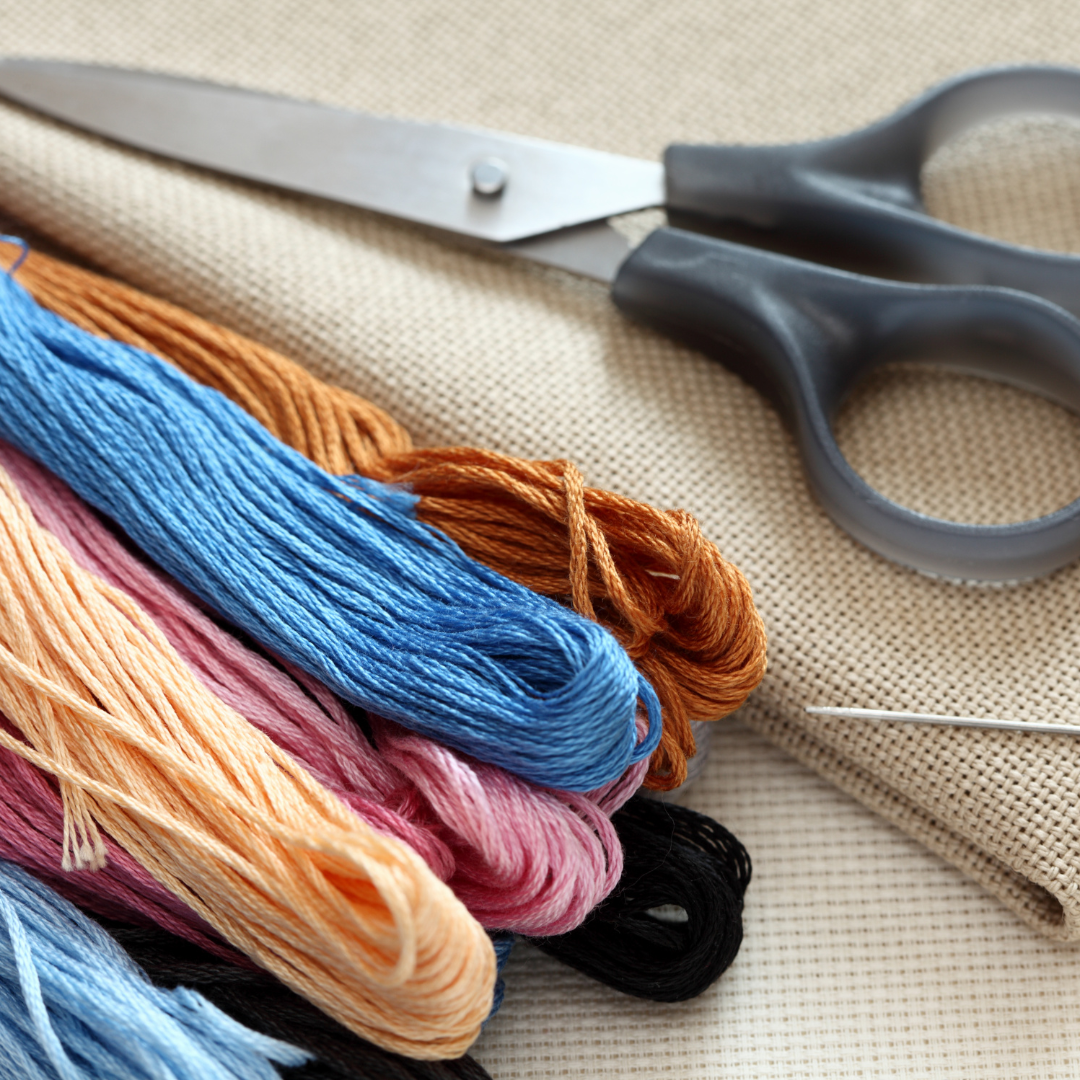
You will need:
- Fabric
- Hand sewing thread
- Hand sewing needle
- Sharp scissors
- Needle threader
1- Running stitch: great for beginner sewers getting their bearings.
Known as the one of the most basic hand stitches and also the most common, the running stitch can be done by both hand and by machine.
You might be sewing something with narrow spaces or perhaps you have a garment that requires a little more precision. Either way, the running stitch can be a great basic stitch to start off with before moving onto a stitch that requires more skill.
Check out this video on how to master the running stitch as a beginner
2- Basting stitch: the marrying stitch.
The basting stitch is well-known for bringing different pieces of fabric together, or a stitch that is used temporarily until a final stitch is sewn.
It is also commonly used when a certain area of the garment requires a little more firmness.
Check out this video on how to master the baste stitch.
3- Back stitch: for locking it in.
The back stitch is a common hand stitching technique and is used on seams that require mending and a little TLC (tender loving care).
One of the most important purposes of the back stitch is to prevent parts of the seam or garment from unravelling or coming undone. It is often referred to as a ‘lock stitch’ and focuses on backward and forward stitching at the beginning and end of a seam.
Check out this video on how to master the back stitch.
4- Invisible r stitch: out of sight, out of mind.
The invisible or blind stich is used to hem garments like shirts or trousers without the stiching showing (if you want to shorten them). It’s works wonderfully on woven or lighter fabrics. The goal is for the stitch to be completely or nearly invisible and you can create it without using a sewing machine.
It’s also used for adding pockets, facings or other details on top of a garment with the goal of not showing the stitch.
Check out this video on how to master an invisible stitch
5- Catch stitch: cross stitch and so much fun.
Also referred to as cross stitching, catch stitches begin from the left and form a pattern on the inside of the garment that looks like a cross. They are often used for hemming lined garments or knit pieces. Eventhough this stitch is also used for hemming as the previous technique I mentoned, the catch stitch works better on heavier, lined or knit garments.
This type of stitching can also be often used to bring two pieces of fabric together if needed, and can work well when sewing with thicker fabrics, too.
Check out this video on how to master an catch stitch
If you want to explore more mending ideas I made a video on how to mend small holes in your clothes with a step-by-step tutorial.
Making our clothes last longer doesn’t have to be a tedious project
Once these stitches have been practiced and learned, it doesn’t take long for them to feel like second nature, and for them to easily fit into the way you recycle your clothes.
Being sustainable with your wardrobe requires a little extra effort, but the payoff overall is well worth it!
It’s a great feeling knowing that you can keep your clothes alive for longer, and the best part is if you want to completely transform your old clothes, you can also dye them.
I’m here to help others learn as much as possible about how to take control of their impact on the Earth using their clothes, and I love meeting people who are as excited about it as I am.
If you want to dive deeper into creating sustainable textiles and repurposing old clothes, you can check out my Living Colour with the Five Elements online natural dyeing workshop.
I hope to see you soon!


