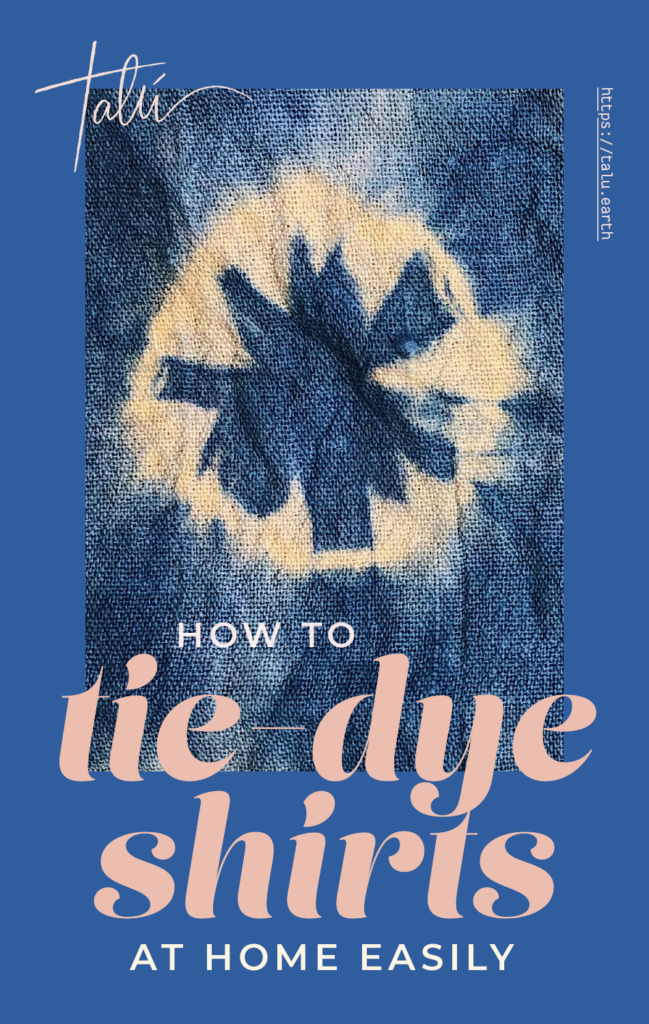
Learning to tie-dye shirts is just as fun as the final product
If ever you needed a sign to reconnect with your inner creative or establish a brand-new artistic outlet, let this blog be that sign for you.
There is something so beautifully sentimental about taking a moment of pause and tie-dyeing, especially when you reminisce about how it was most likely a big part of your childhood.
In fact, I remember all of the camps, sleepovers and birthday parties where we would excitedly learn how to make tie-dye shirts. And it’s a classic, innocent, free-spirited trend that I am excited to say is back – and better than ever.
So, let’s bring those 70’s inspired colours back into our wardrobes, let’s return back to the former DIY glory days and get our hands a little dirty – all of which will be in service of exploring the innate transformative power of tie-dyeing: where you are take something old and giving it a second life.
People have been learning how to tie-dye shirts for years
While tie-dye is making its much-appreciated comeback tour across the globe, tie-dye is by no means a new phenomenon. The century-old technique of learning how to make tie dye for clothes dates back more than 2,000 years, with its history deeply rooted in self-expression. From the bright and lively Woodstock rainbow era to the Indian Bandhani and Japanese Shibori, tie-dye has always played a role in beautifying and upcycling various garments and textiles.
What are the best types of materials to tie-dye?
Since we will be using natural dyes for this process, it’s important to use shirts that boast natural fibres. Think in the line of cotton, hemp, rayon, linen, and even natural silk.
If possible, try to avoid tie-dyeing shirts that have a high synthetic fibre count, as the colour won’t take properly.
That being said, if you don’t have any 100% natural fibre materials around the house, try and use garments that have a blend of about 80/20 cotton/polyester. Avoid going lower than a 50/50 blend so that your tie-dyed shirt doesn’t come out faded.
How to tie dye t-shirts
Materials needed
- Your t-shirts made from natural fibres
- Your selected dyestuff
- A dedicated dye pot
- A container
- Rubber bands
- Kitchen scales
Measure all of your goodies
Before you can get into all of the creative fun of learning how to make tie dye for shirts, you are first going to need to make sure that you have an equal amount of dye to shirts. The weight of both the shirt and the dyestuff needs to be the same. This way, you can guarantee that the colour of your shirts come out as beautifully lush as you’d imagined.
Prewash and mordant your shirt
The second step necessary when learning how to tie dye a shirt is understanding the importance of washing the shirt before you begin dyeing it. Yes, it may sound a little strange to wash a shirt that is already clean, but it’s just a part of the process.
Make sure to wash out any oils, dirt and additive finishes that may be on the shirt. This is important as these elements will impact how well your shirt takes to the dye. So, give it a good hot wash with a gentle detergent.
For best results, mordant your shirt to ensure the colours will be as vibrant as possible and will actually withstand the test of time. I go over the mordanting process in my Living Colour with the Five Elements online natural dyeing workshop.
Extract your dyestuff
Once you have selected your dyestuff, extract the colour to obtain your dye. If you aren’t sure how to turn plants into a sustainable natural dye, make sure to read my blog post on it! It will outline all of the ways you can dye textiles with natural dyestuff.
Begin folding your fabrics
This is where you get to have additional fun folding your shirt in cool, unique and creative ways. Depending on how you crinkle or fold the shirt, you will be left with a number of quirky and fun designs. Keep on reading if you want to see some of my favourite tie-dye folding patterns!
Just don’t forget to have rubber bands on hand to help secure those fold designs!
Place your folded t-shirts in a container with plain water and leave to soak for at least half an hour to ensure best colour uptake.
Time to dye!
Pop your wet, folded t-shirts into your dye pot and simmer for at least 1 hour. If you’re feeling experimental, after dyeing one colour you could unfold your t-shirt, fold it up again with a different design and pop it into a second or even a third dye bath to achieve a marbled look with different colours.
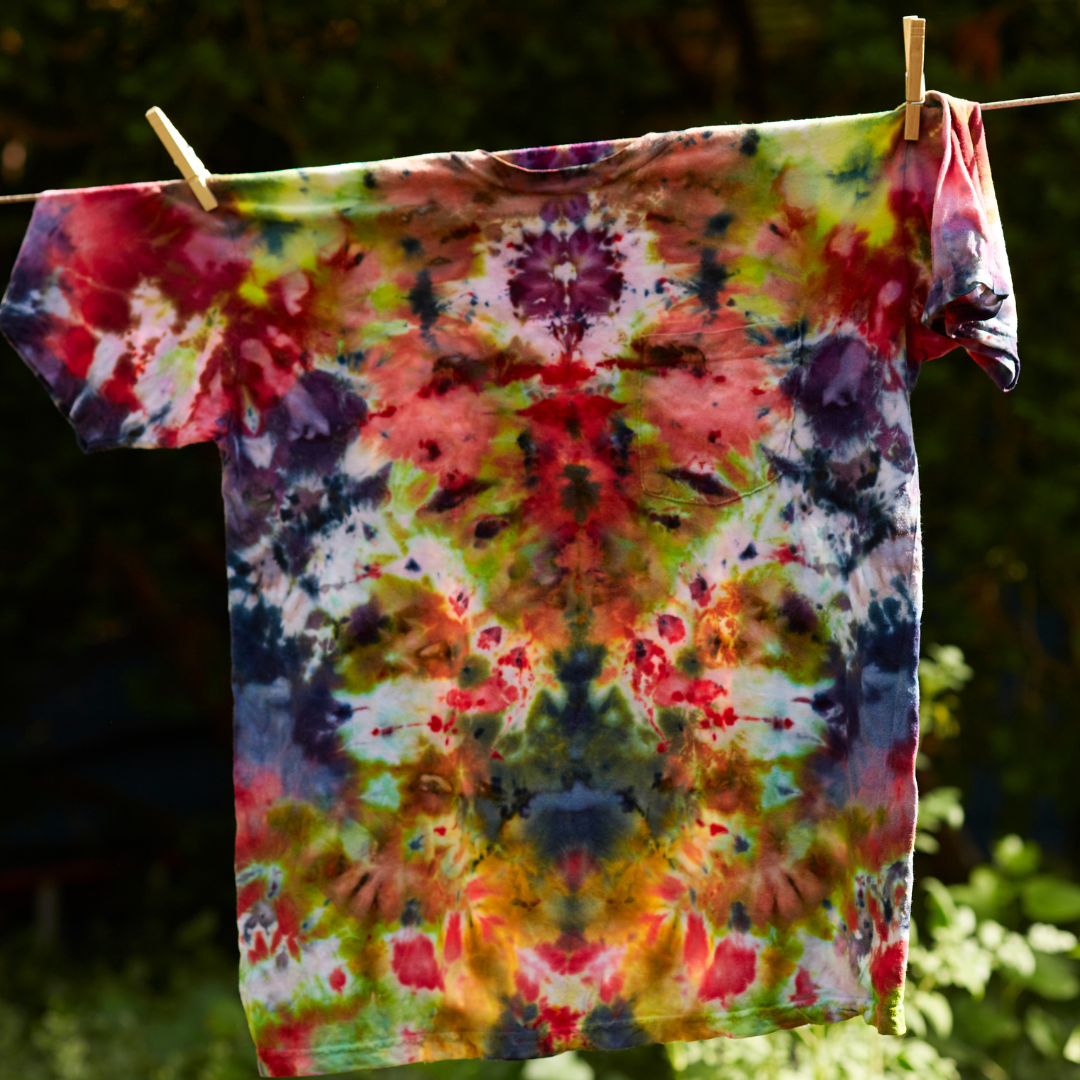
Rinse, wash and enjoy
The last step in this journey includes untying your shirt and giving it a rinse under cold running water. You can then hang the shirt to dry away from direct sunlight and enjoy your efforts with a wonderful new shirt!
How do you wash a tie-dyed shirt?
This is a frequently asked question, and I understand why you are curious about it. I would hate to see you accidentally fade your masterpiece because of poor aftercare. So, when it comes time to wash your tie-dye shirt, make sure to only use cold water and a very mild detergent in the gentlest cycle of your washing machine –or even wash by hand! Doing this will help your shirt maintain its bright colours, which you love oh so much.
How to tie dye a shirt with different patterns
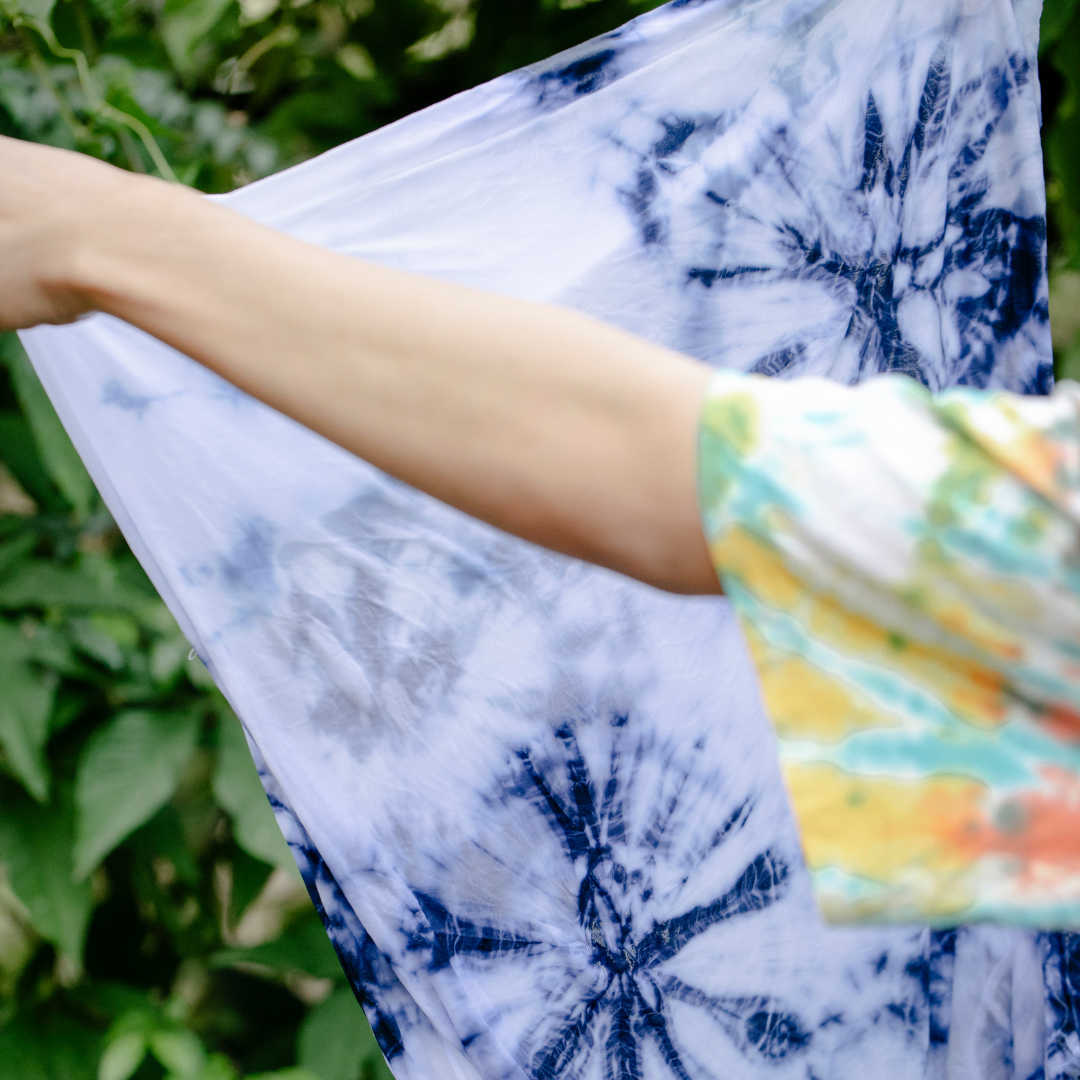
The Swirl
In order to achieve this look, you will need to pinch the middle of your shirt and twist it clockwise. It will sort of resemble a cinnamon roll. All you need to do then is secure it with rubber bands.
The Stripes
For a striped look, fold your shirt like an accordion, and then make sure to wrap it with an elastic rubber band every few centimetres.
The Bullseye
Pinch a tiny area in the centre of the shirt and lift it up almost like a thin cone. Take a few elastic bands and place them at varying equal lengths down the cone.
The Scrunch aka the Nebula
This one is super easy; you only need to scrunch up the shirt and randomly place several rubber bands around it.
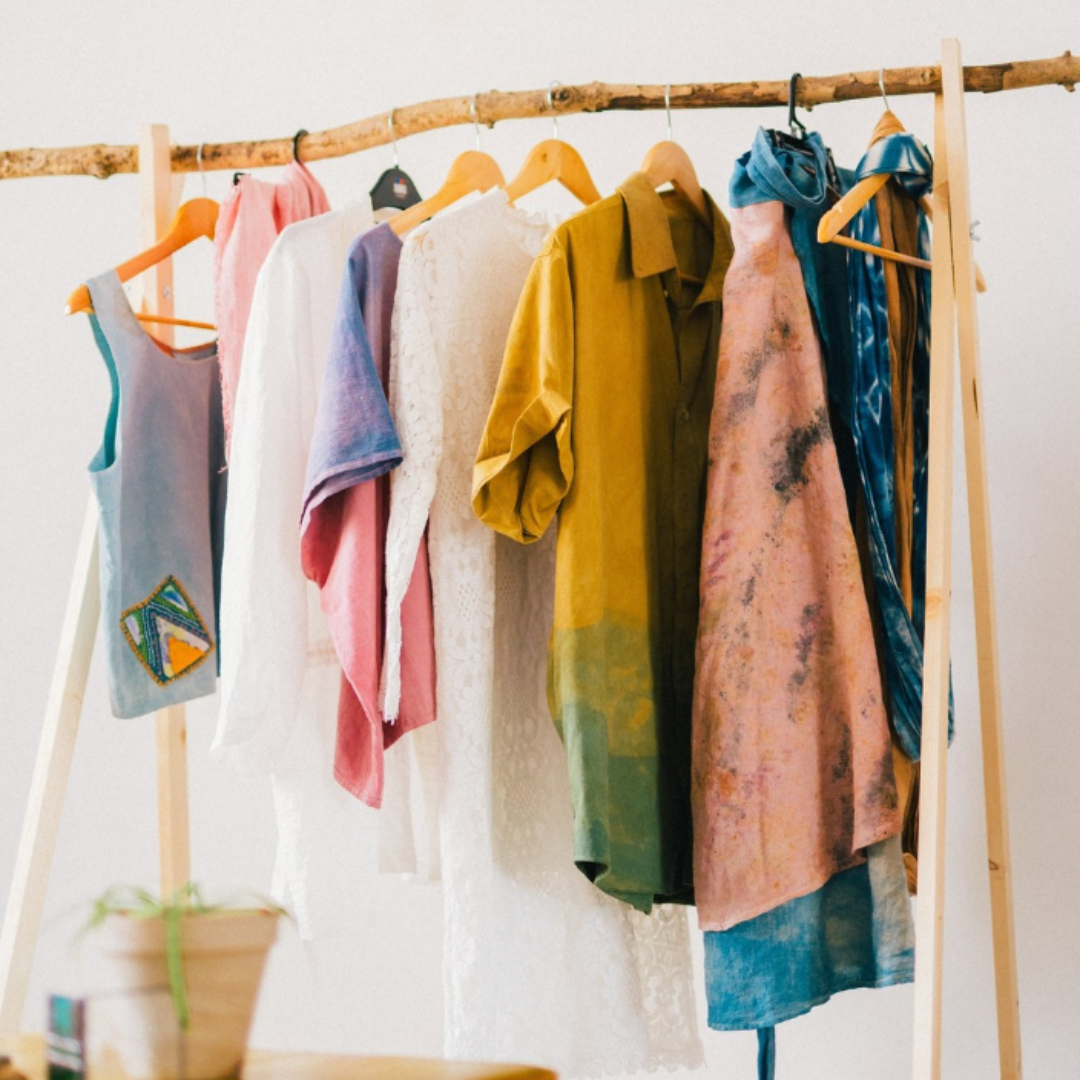
Learn how to tie-dye shirts and clothes with natural ingredients with me
If you are looking to explore your artistic creativity and journey into creating unique, personalised garments with a like-minded community, then I highly recommend joining our Living Colour with the Five Elements online natural dyeing workshop. This is a beautiful space where we come together to revel in the wonders of sustainable design, and I truly can’t wait to host you!
Pin this post!