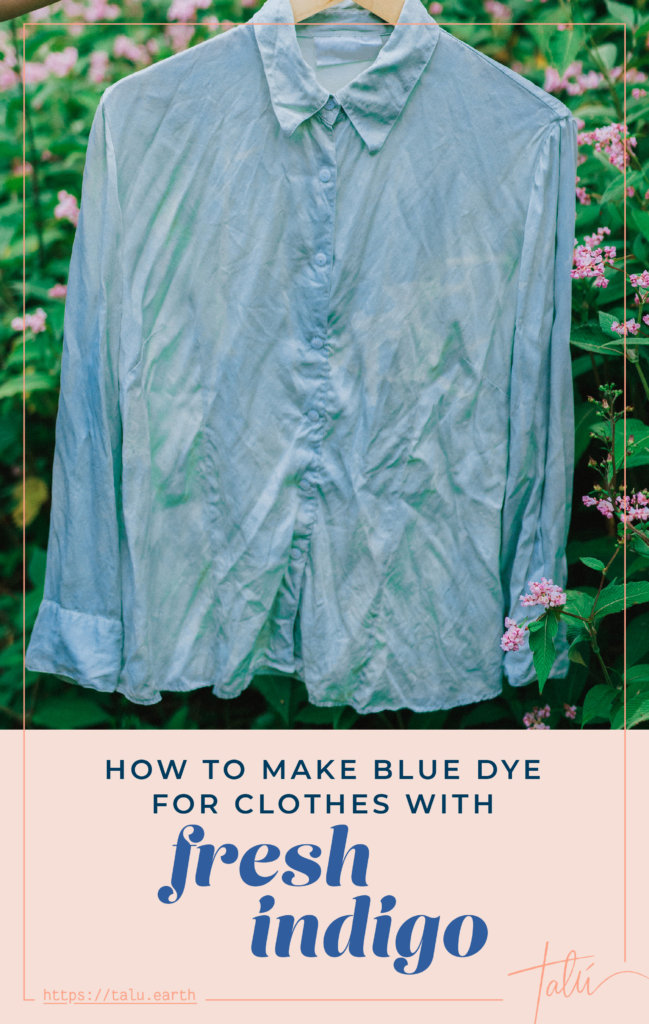
It’s July, and you know what that means: Blue Season!
Okay, so you might not know what Blue Season is. Let me explain!
July is peak Blue Season, because it’s when most growers in the Northern Hemisphere harvest the leaves of the Japanese indigo plant (Persicaria tinctoria) to process them into blue pigment for dyeing, creating one of my favourite hues: Indigo!
If you’re a lover of all colours blue, then July is the absolute best time to naturally dye your textiles and add your favourite hues to your sustainable wardrobe! (Not sure what that is? Read about how to build a capsule wardrobe the sustainable way.) It’s fun, and easy – but time sensitive.
Blues are a bit tricky to dye because the natural materials I use require freshness, unlike many other dyes. If you’re using dried plants, you’ll have to go through the vatting process, which is a whole ‘nother story.
I’ll explain why, but first, a note: If you want to skip to the 1, 2, 3s of how to make blue dye at home using indigo for dyeing, scroll to the next heading! But if you don’t read all my nerdy backstory, you’ll have to just take my word for all my instructions.
All the nerdy backstory about Indigo you could ever want.
The reason Indigo dye is treated a little differently than other dyes is because it’s actually a pigment, meaning it isn’t automatically soluble in water.
We almost always have to go through a process called “vatting” to turn the pigment into water-soluble “leucoindigo,” which we can actually use for dyeing.
If you’re wondering what natural ingredients can be used to make blue dye, the answer is “heaps!”. But they are all very particular.
Various plants around the world produce the molecule that precedes indigo, but the important thing is that you can process them in different ways to get to the sweet, sweet blue dye we want.
In case you’re reading this from one of those places, I’ll go over these plants quickly:
- Native to America: Indigofera suffruticosa
- Some tropical regions in Asia: Indigofera tinctoria
- Some temperate regions in Asia: Persicaria tinctoria
- Europe and Asia: Isatis tinctoria
- Western Africa: Lonchocarpus cyanescens
- Australia: Indigofera australis
So, if you live in these regions, you might be in luck!
On a chemical level, despite the different methods, the process is always the same – reduction and alkalinisation. And if you’re wondering “what the hell is that?” Don’t worry, we won’t be looking at the chemistry of an indigo vat today. In fact, a vat is not necessary 100% of the time!
What you’ll need to make blue dye for fabric:
I use the Japanese indigo plant Persicaria tinctoria to process into blue pigment (Click here for Japanese indigo growing tips!). This specific plant is important, because you can use the fresh leaves to create a natural blue dye without vatting.
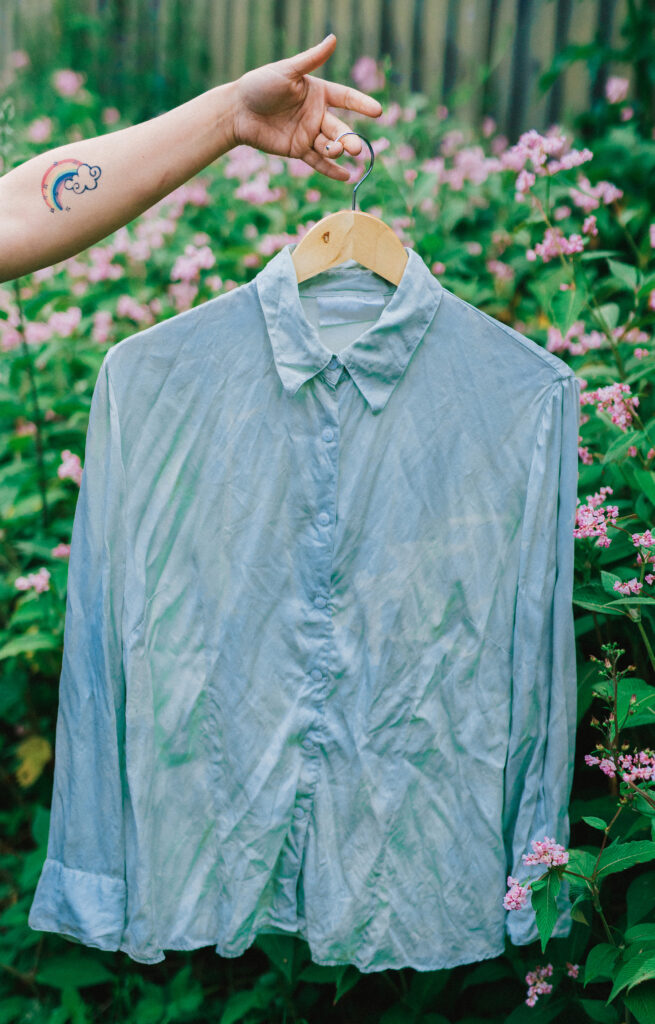
With this method, you end up with a gorgeous mermaid teal, blue colour. It works beautifully for scoured animal fibres like wool, silk, alpaca, and mohair (if you don’t know what scouring means, you can just give your textiles a good wash with plenty of pH-neutral, biodegradable soap).
If you want to use plant fibres like cotton, bamboo, or hemp, you’ll have to scour and pretreat them with a soy binder and a tannin bath or dye them in an indigo vat. You can find the full instructions for these processes in our Living Colour with the Five Elements online natural dyeing workshop.
But, assuming you’re using fresh Indigo and animal fibres, this method will work wonderfully.
Here’s the full list of materials for using indigo for dyeing:
- Fresh Japanese indigo (Persicaria tinctoria)
- A blender. Typically, I don’t recommend using kitchen appliances for both dyeing and cooking, but Japanese indigo is edible (though very bitter!) so you don’t have to separate designated tools.
- A big bowl, pot, or container for dyeing in
- A separate bowl or container to soak your fibres before dyeing
- A sieve or colander and a piece of cheesecloth or muslin, for straining
- Kitchen scales to weigh your materials
- Salt
- Ice and/or very cold water
And now we begin, let’s learn all about using indigo for dyeing and achieving a beautiful blue colour!
Step-by-step: How to dye fabric blue with fresh Japanese indigo leaves.
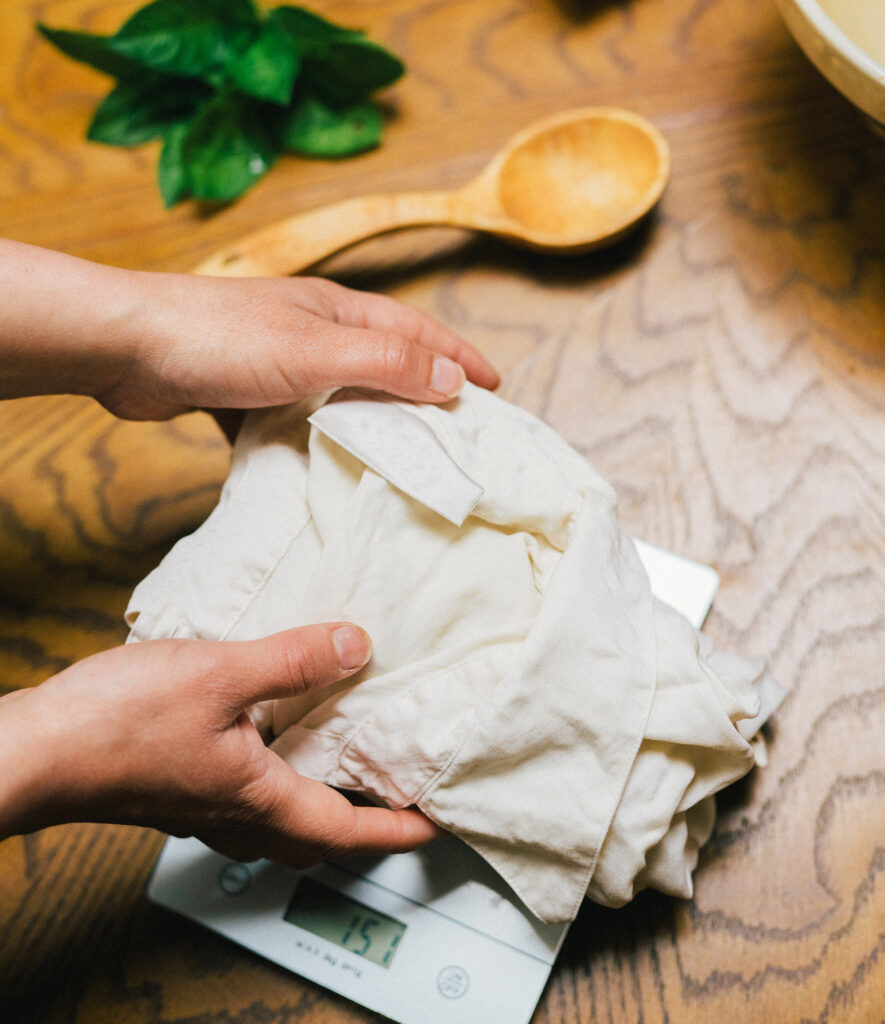
1- Weigh your dry textiles.
Weigh all the textiles you’ll want to dye while they’re dry. Write this measurement down, because you will need at least twice the weight in indigo leaves (no stems!).

2- Soak your fibres for at least half an hour.
Take your animal fibres and soak them in your 2nd bowl (not the one for dyeing). They should soak for at least 30 minutes for even, intense colour uptake.
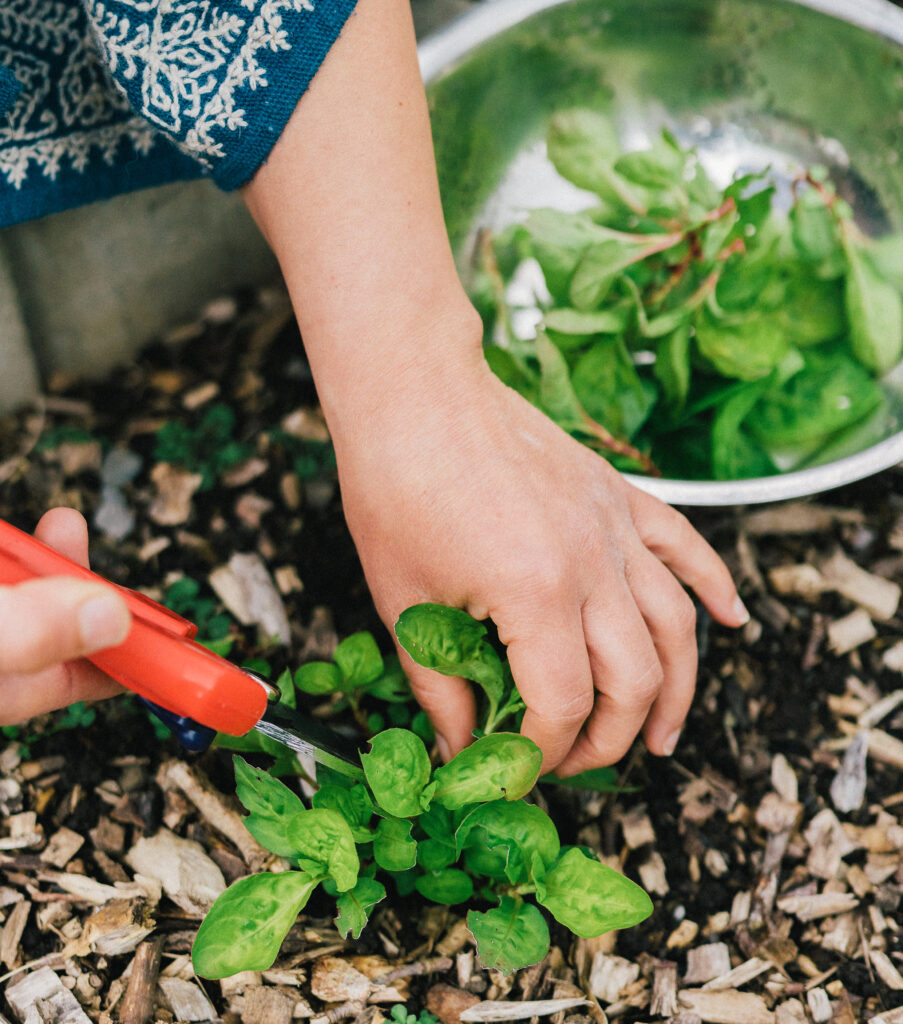
3- Harvest your indigo leaves and remove the stems.
You’ll need twice the weight of the dry textiles in indigo leaves (e.g., if you have 100g of mohair, you need 200g of leaves after you’ve taken them off the stem).
Indigo leaves lose their potency for that precious blue colour the second they start to wilt.
You need to use them immediately after harvesting, or keep them cool for up to a day if you leave them soaking in cold water. You can use ice, or put everything in the fridge.
*Pro Tip: You can propagate your Japanese indigo plants by putting the stems in water! After a few days, they’ll grow roots and you can stick them right into soil.
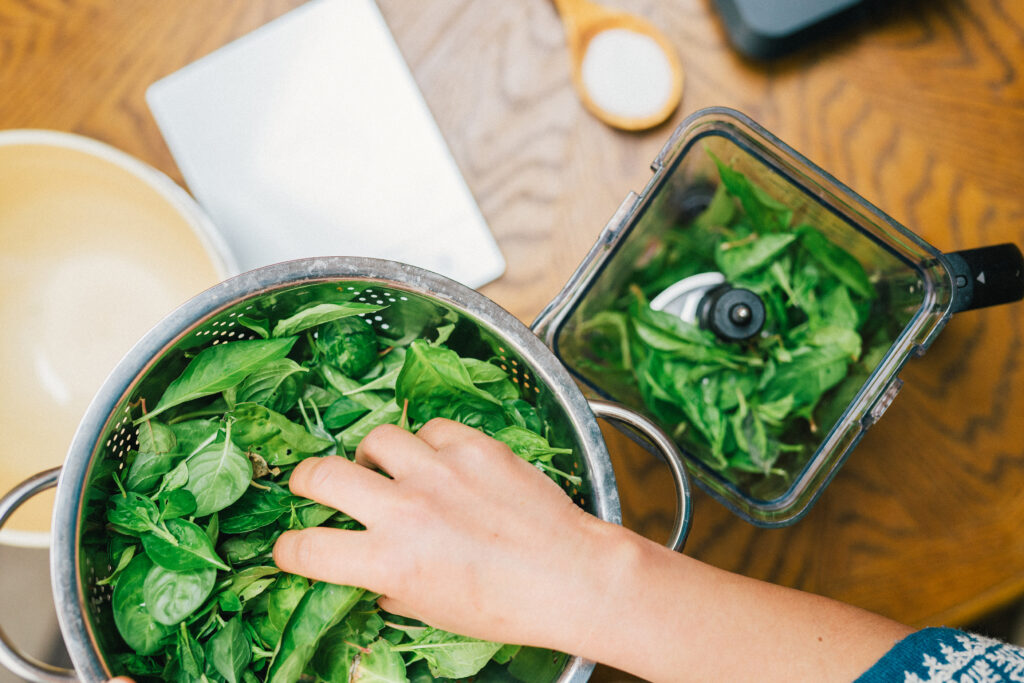
4- Put the leaves in your blender and cover them with very cold water.
If you’re in a warm region, add ice. Cold, cold, cold keeps the blue colour!
Add enough water to just cover the leaves. If you have a lot of leaves and a small blender, go in batches.
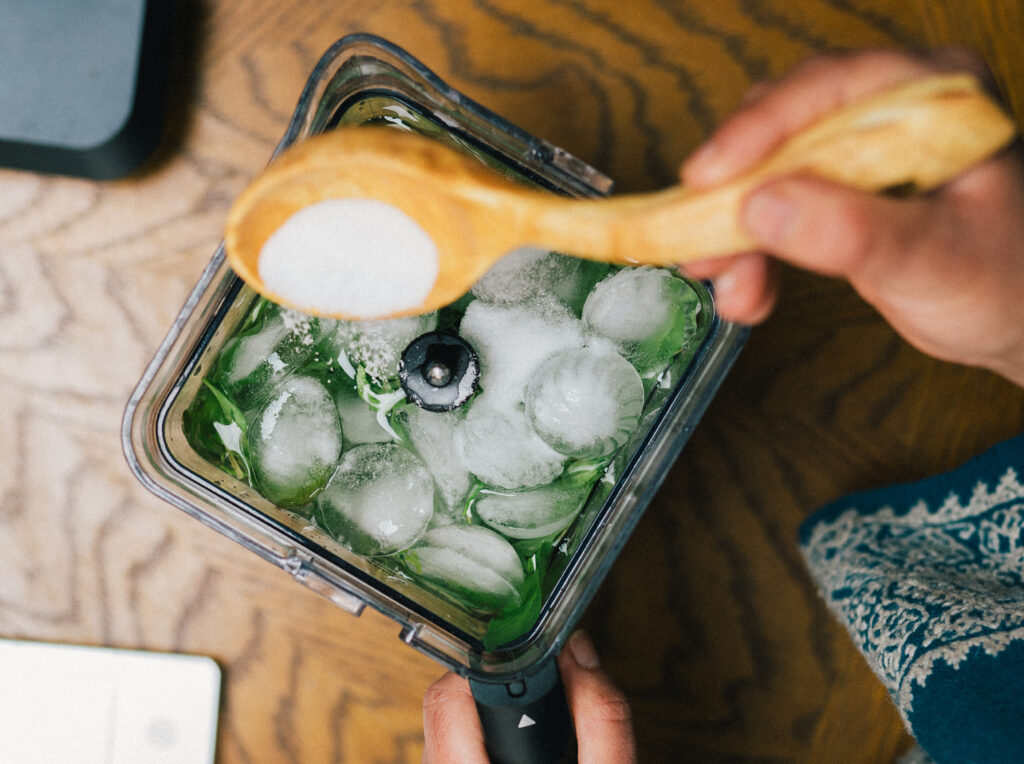
5- Add 1-2 heaped spoonfuls of salt.
Don’t overthink this step. Any salt, any heap height, you’re probably fine. It’s just salt.
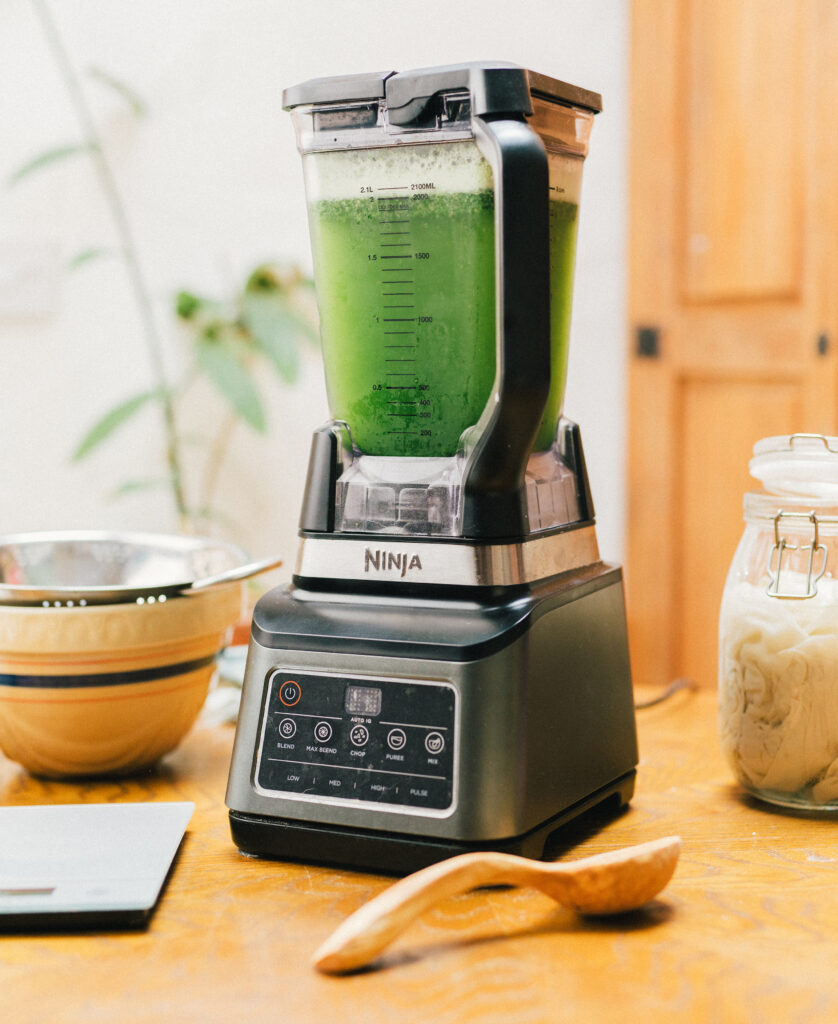
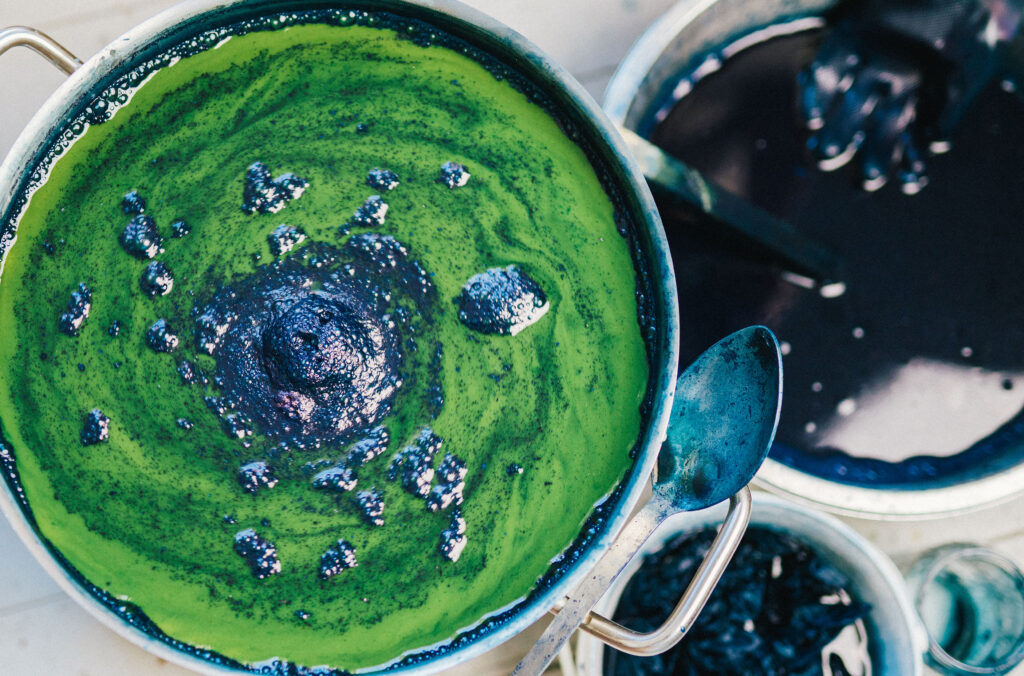
6- Blend until you get a foamy green smoothie.
The “smoothie” you make won’t be blue – blue happens after.
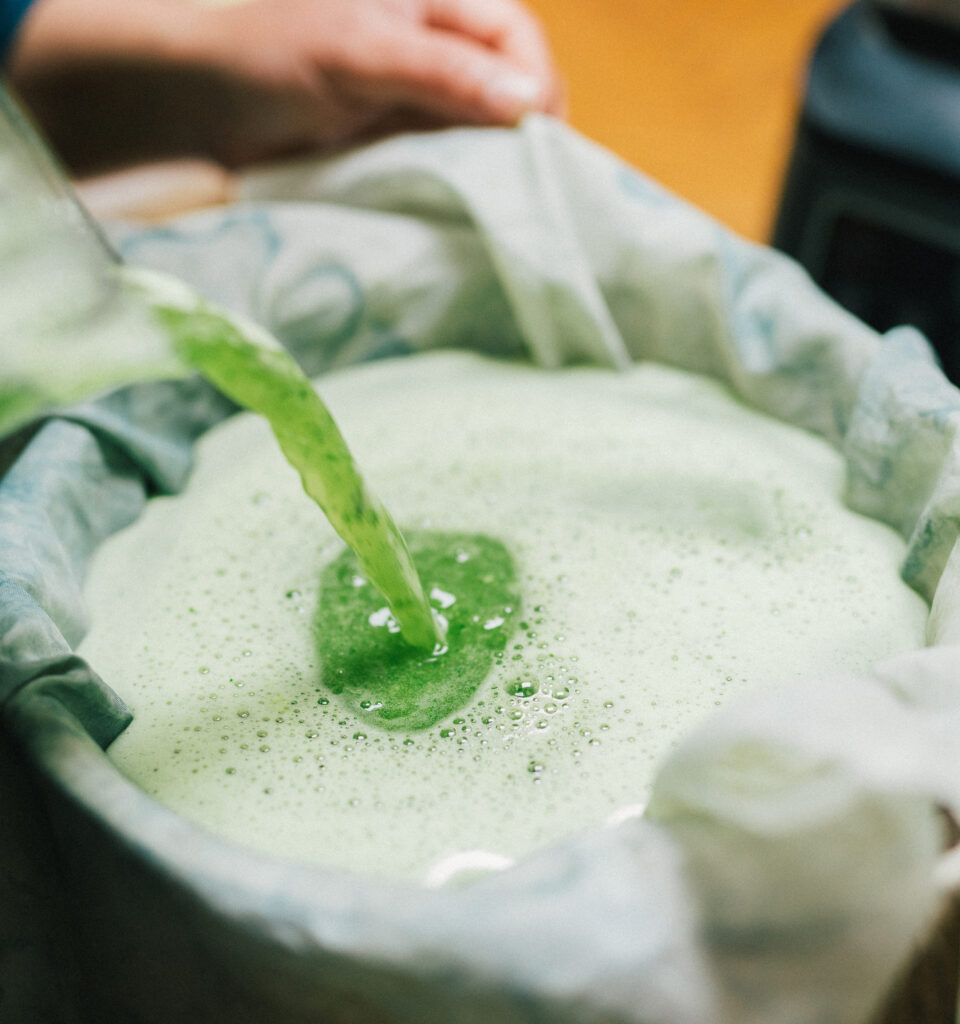
7- Strain into your colander through cheesecloth.
Strain your smoothie into your dye bowl through your colander or sieve with cheesecloth or muslin. KEEP THE LIQUID! That’s your dye!
It might seem funny that I would need to say that, but you’d be surprised.
Ask any chef how many times they’ve made a 12-hour broth only to pour it all down the sink on autopilot and be left with mushy, flavourless root vegetables and bones. I guarantee their answer will not be zero.
Keep the liquid 😉 as much as you can! Squeeze out everything the foam will give up.
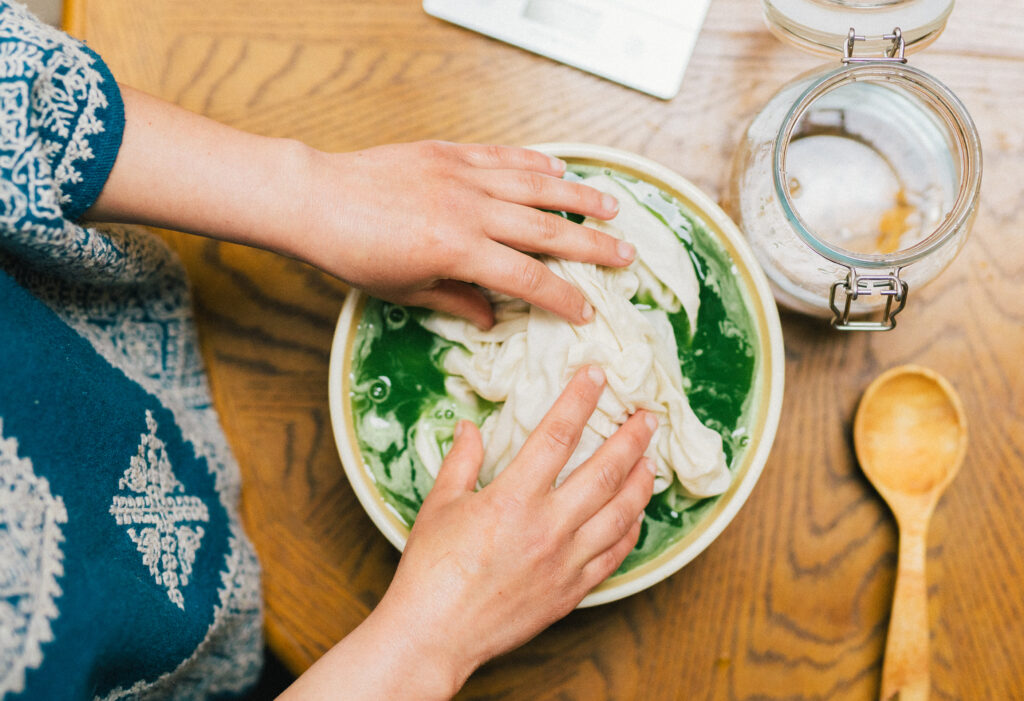
8- Add your pre-soaked fibres to the dye bowl and swish.
Add your pre-wetted animal fibres to the green liquid and swish around for a while for even colour uptake.
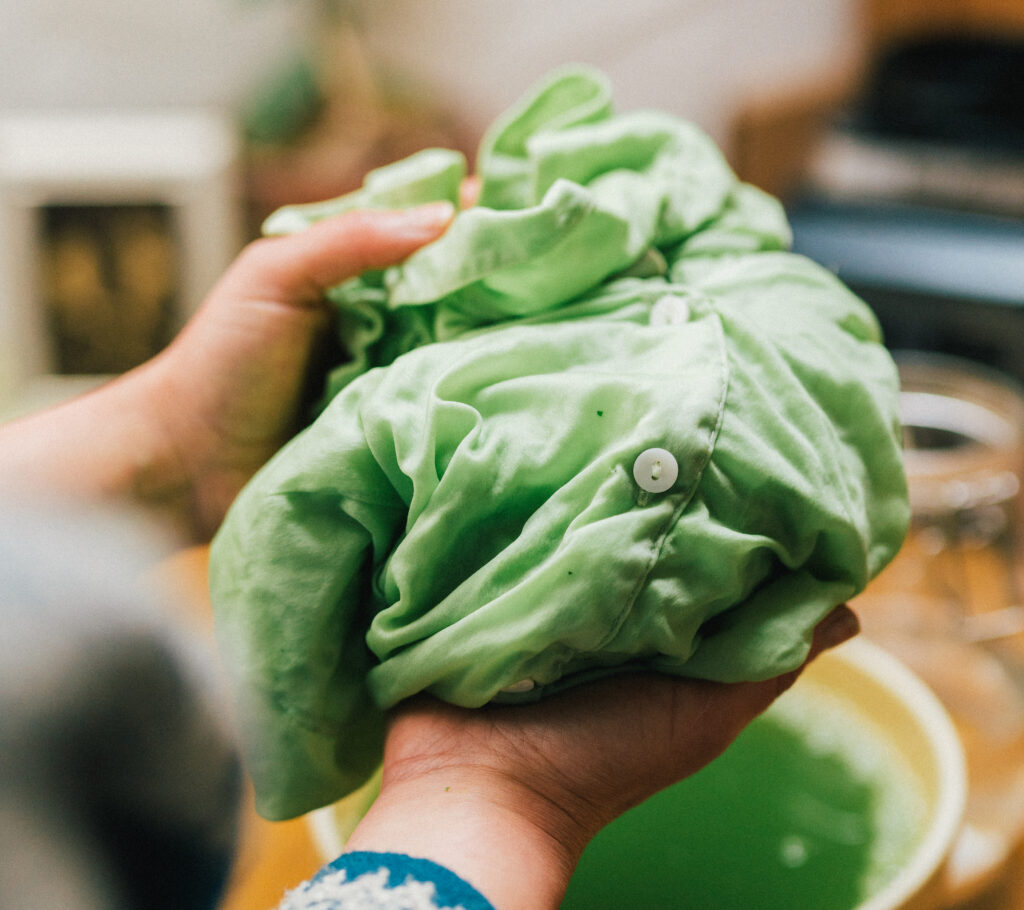
They’ll be green. Don’t panic! The blue happens after, once the dye oxidises outside of the liquid.
Keep moving the fibres around until you’re perfectly happy with the colour intensity.
9- Rinse and lay flat.
Rinse your fibres under running water until it runs clear, and then leave to dry away from direct sunlight.
If you used wool, dry it flat – not hanging.
10- Repeat (if you’d like) for different shades of blue!
You can keep adding fibres to the already-used green liquid, which will result in paler and paler shades of blue, until the colour is completely exhausted.
This is particularly nice if you’re a fan of monochrome looks, or have different ideas in mind for different shades.
11- Compost the remaining plant fibres.
This step is optional, but the leftover leaf bits and liquid compost nicely! Now you know all the ins and outs of using indigo for dyeing!
If you’re looking for new, fun ways to repurpose your clothes sustainably, textile dyeing might be for you.
Textile dyeing is, at least to me, a magical experience.
Colour affects how we perceive our clothing and the world around us so much. Old clothing or textiles can become completely transformed with just water and a plant you harvested yourself.
If that isn’t magic, what possibly could be?
You can repurpose old clothes or create new ones with the power of Mother Nature.
If you’d like to learn how to do this yourself, why not sign up to our detailed Living Colour with the Five Elements online natural dyeing workshop?
I’ll teach you everything you need to know to create professional-level dyes out of your own backyard, leaving no stone unturned.
Pin this post!