


The sun, with its gloriously vibrant rays of light and incredibly life-giving energy, is not only essential for sustaining life on Earth but is undoubtedly one of the most fascinating tools for creating true works of art in both paper and textiles
Sun printing and solar dyeing are wonderfully grounding processes that use one of Nature’s most precious and abundant resources: sunshine (obviously!).
Commonly known as sun printing, heliographic dyeing or anthotypes, the captivating technique of sun printing utilises the power of the sun to replicate the exact shapes of plants, flowers and stencils directly onto paper. However, if you want to do solar dyeing, you can also apply a solar technique to give colour to your fabrics, which I will discuss at the end of this post as well.
And without further ado, let’s delve into the wonder that is sun printing and solar dyeing!
Understanding the history of sun printing and natural dyeing
Sun printing: creating prints thanks to the light of the sun
Sun printing came about around the 1800s as a form of photography to create a negative that was reflected on paper. Although the invention of this process is generally attributed to Sir John Herschel, it was originally invented by Mary Somerville (yay, women in science!).
Years later, John Herschel introduced Anna Atkins to this process and she used it to create prints of seaweed. In 1843 she self-published her photograms in the first instalment of Photographs of British Algae: Cyanotype Impressions, considered to be the first book with photographic images. As a botanist and photographer, Atkins recognised the power of merging plants and sunlight to create beautiful images, and we thank her for that to this day.
Solar dyeing: creating colour thanks to the heat of the sun
Although the history of solar dyeing itself is not really documented, harnessing the heat of the sun for fermenting tannins to create deep colours can be dated back to the early bronze age and late iron age. This gives us context about how people started experimenting with solar-related colour processes in the past.
In short, it’s clear that throughout history, artists have experimented with sun printing, solar dyeing and natural dyeing.
And well, you can pretty much guess the rest… People were obsessed, and still remain in awe of Nature’s ability to create colour!
How does sun printing on paper even work?
Sun printing works through a process called photosensitivity. Essentially, that means that certain dyes, particularly natural ones, are sensitive to light and can undergo chemical reactions when exposed to the sun’s UV rays. These are the dyes we normally also call ‘fugitive’.
The substrate (in this case, paper) is pre-treated with a dye or a dye mixture, and then objects like leaves, flowers or stencils are placed on top. As the fabric is exposed to sunlight, the areas covered by the objects shield the dye from the UV rays. This creates a beautiful negative space design.
The uncovered areas that are exposed to the sun’s rays go through a photochemical reaction, resulting in changes in colour and unique patterns.
What are the most common types of dyes used for sun printing?
Although you can use a mineral-based photosensitive solution to create sun prints (also called cyanotypes), you know I am an advocate for all things natural dye-related! Anthocyanin-rich dyestuffs are an eco-friendly alternative to make your own photosensitive ink at home. What a win!
Some popular natural dyes for sun printing include:
- Berries
- Beets
- Black beans
- Red cabbage
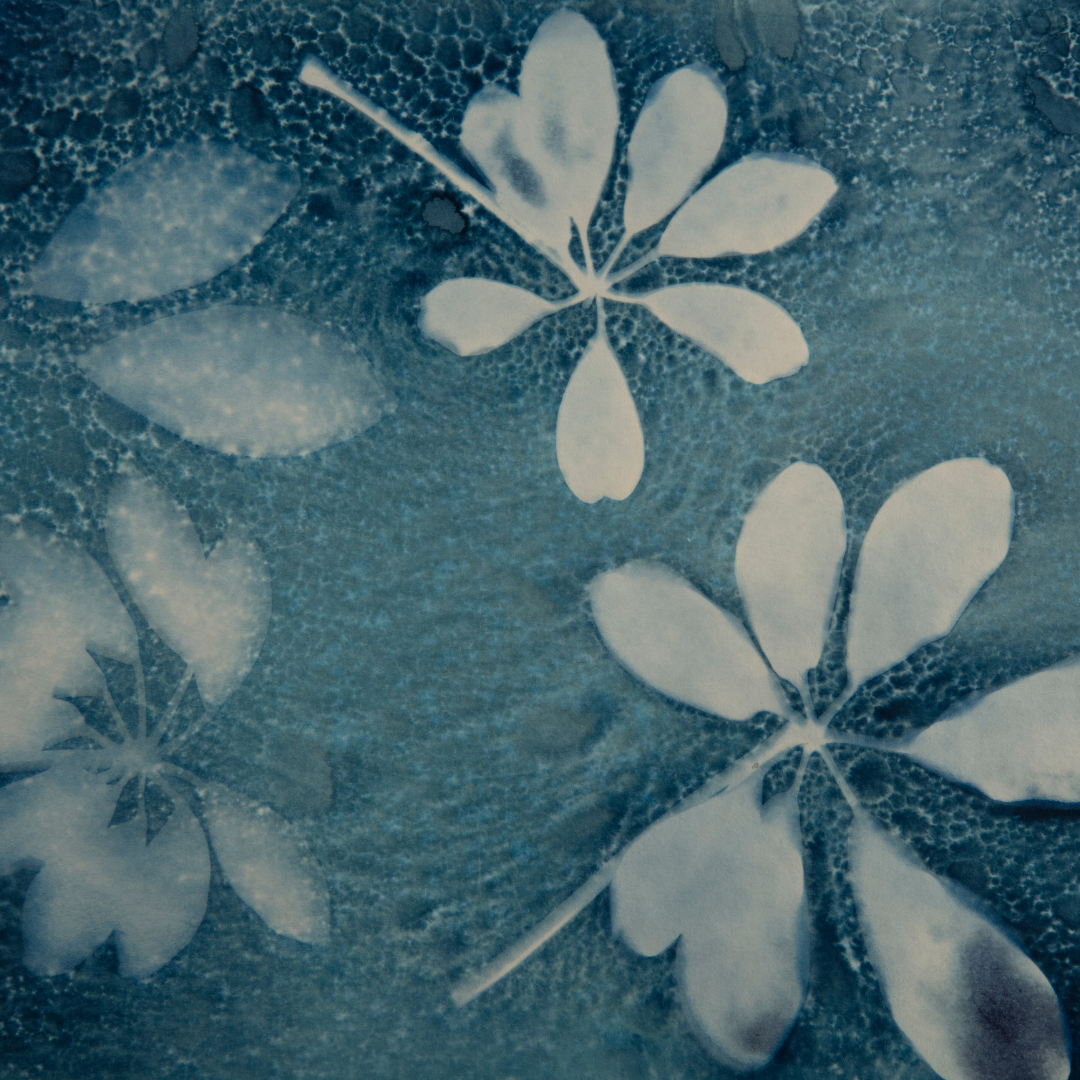
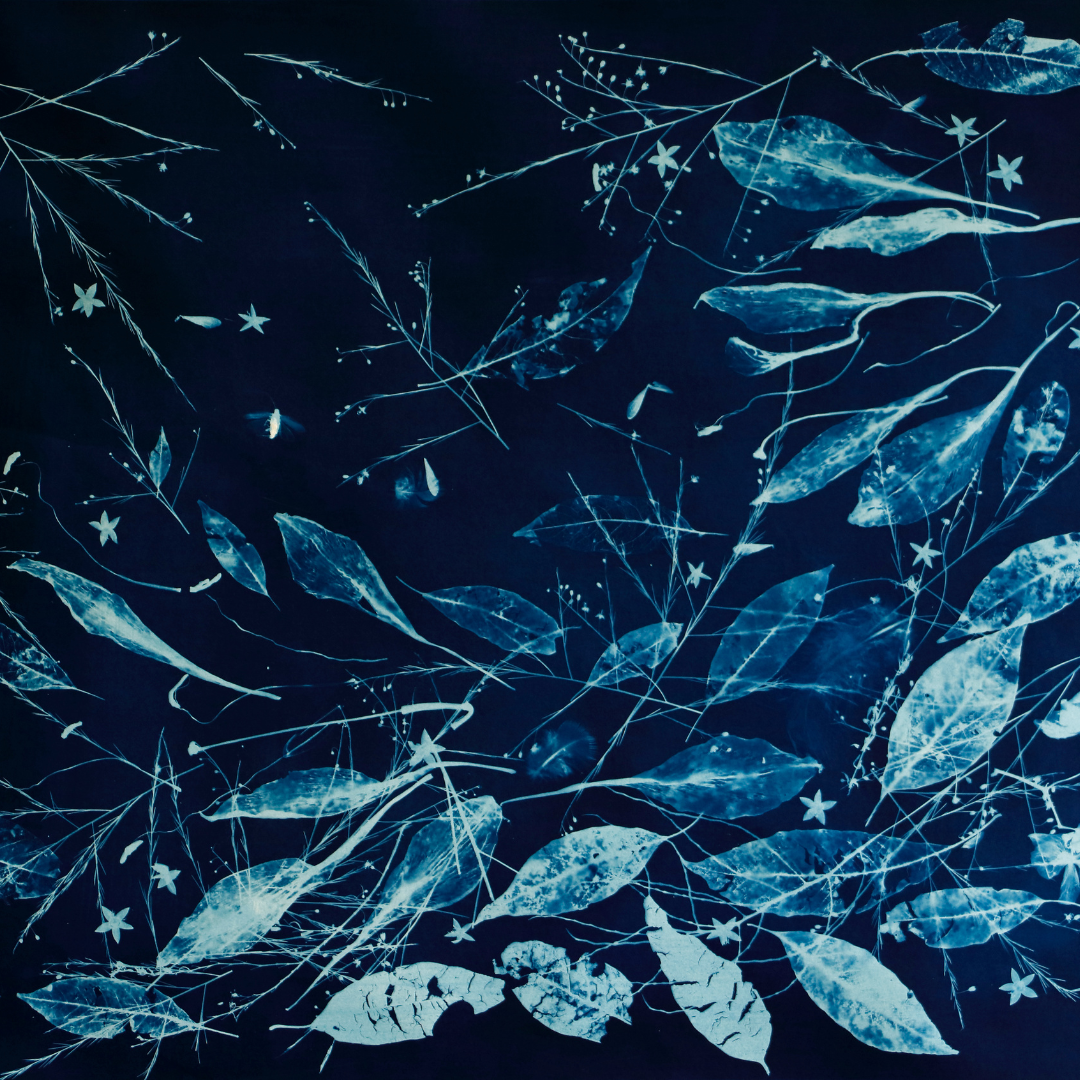
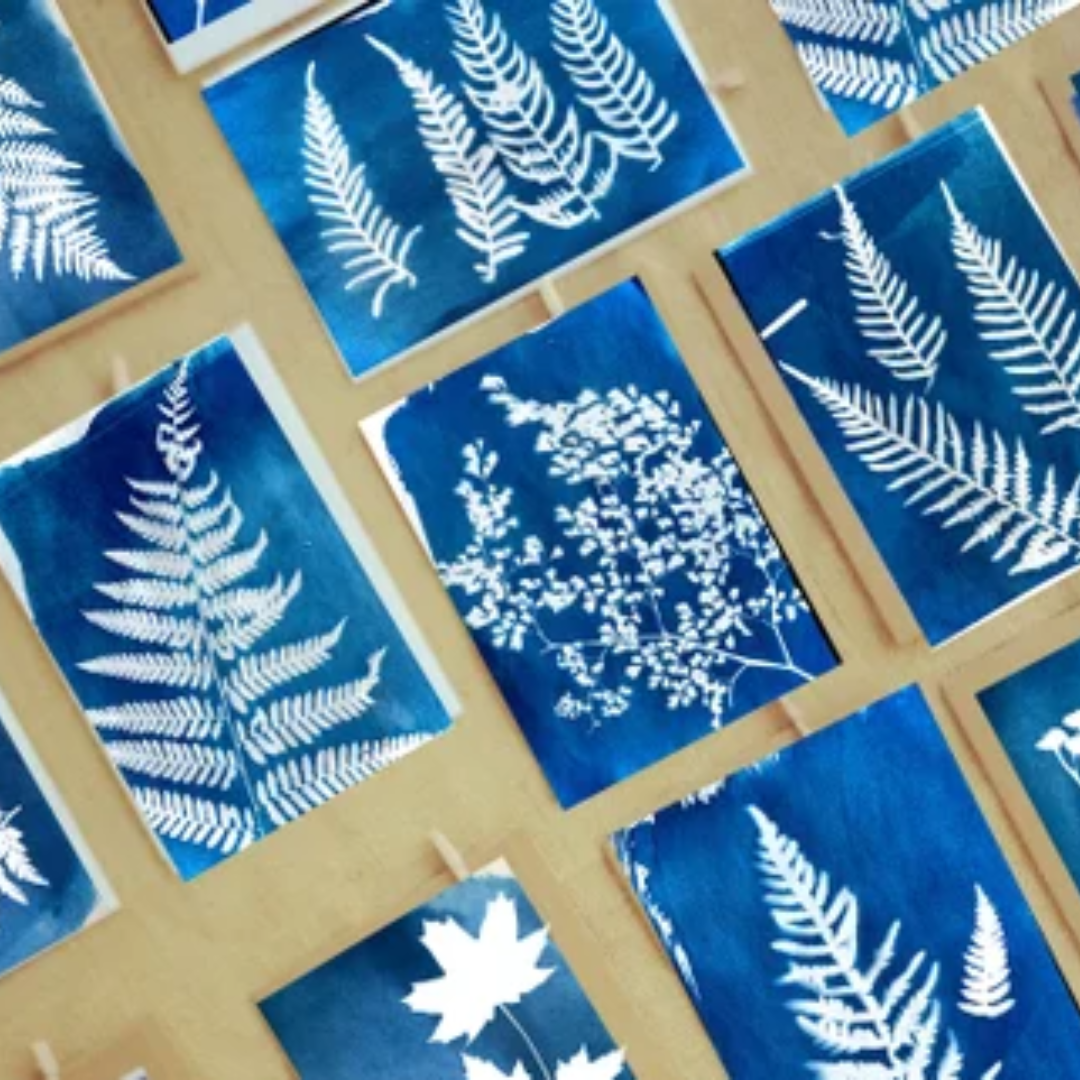
Using leaves and flowers for sun printing (also known as anthotypes)
One of the most exciting aspects of sun dyeing paper is that you get to forage through your own garden and use Mother Nature’s sweetest gifts – unique leaves and flowers – to create your own intricate designs.
Delicate foliage, like ferns, eucalyptus, or daisies, can be pressed until dry and then carefully arranged on the paper, securing them in place by weighting them down with some clear material like glass or acrylic.
Once exposed to sunlight, the natural pigments in the dye will change colour with the sun, leaving behind the shapes of the leaves and flowers you’ve pressed against the paper.
The result? Exquisite prints that bring you closer to Nature and leave you with a beautifully sun-kissed design that is simply to dye for (yes, the opportunity to use the pun was there, and I took it. Forgive me).
Your step-by-step guide to sun printing:
What you’ll need
- Your choice of berries, beets, black beans or red cabbage
- Watercolour paper or any thick, absorbent paper
- Brushes, paint rollers, sponges or tools to help spread the ink
- Fun and creative shapes! You can cut them out of paper, cards, or you can also use dried leaves, flowers and foliage like I mentioned above
- Optional if using leaves, flowers or foliage: clear glass, acrylic or even an old picture frame to keep your dry plants in place as the image develops
- Sellotape or masking tape
The process
- Simply chop your berries, beets or red cabbage and leave them in a jar or container with water to soak overnight. Just keep in mind that if you’re using black beans, you don’t need to chop them. You can just let them soak overnight in just enough water to cover them!
- The next day, you’ll want to assess the colour in your jar or container. Are you happy with the shade? If not, don’t panic! You can place your berries, beets or red cabbage and its coloured water into the blender to help bring out the colour vibrancy.
Strain the mixture and voila!
For the black beans, I don’t recommend blending them. Keep them in the container longer to increase the vibrancy of the water. Once you’re happy, strain them and keep the coloured water.
- For extra colourful fun, split your colour water into three jars and mix in a pinch of baking soda in the first one. Add a splash of vinegar to the second one and leave the third one as is. Do you see the colours changing?
- Dip your painting materials in your colourful water and paint away. Remember to try and cover up as much of your watercolour paper as possible. Get creative! Build up layers of colour as it dries to make it even darker.
- Leave your artwork to dry and watch the colours change!
- Place your shapes or dried foliage on top of your painted watercolour paper and secure them as best as possible with your sellotape, masking tape, piece of glass or acrylic. Alternatively, use an old picture frame to press keep everything in place.
- You can now place it against a very sunny window and leave it there for a few days until you see the exposed bits have faded.
- The sun will make the ink fade in the places where it’s not covered by shapes or foliage, leaving only the shapes you created. It’s like taking a photo, but way more fun!
- Enjoy your sun-printed art!
What’s the difference between sun printing and solar dyeing?
You may be wondering, “OK, I know how to do sun printing, but what is solar dyeing?”. And I’m glad you asked! In fact, it’s actually very different.
Sun printing is a process where you photosensitive or ‘fugitive’ natural dyes and apply them to a piece of paper that is then exposed to the sun.
On the other hand, solar dyeing is a technique in which the heat of the sun extracts the colour of your dyestuffs and slowly transfers it onto fabric.
The results are very different because sun printing allows you to create different forms of artwork on paper, and with solar dyeing, you dye fabrics with the sun for any particular use.
Step-by-step guide to sun or solar dyeing:
What you’ll need
- Fibres, previously scoured and mordanted
- A glass jar big enough for your fibres to fit inside
- Enough dyestuff to fill your jar halfway. Chop it up as small as possible!
- Water
- A very sunny spot
The process
1. Put the fibres you wish to dye in a clear glass jar. Take into account that if you place them tightly in the jar, the colour won’t be uniform.
2. Fill the rest of the jar with your natural dyestuff.
3. Carefully fill the jar with water, making sure that no bubbles remain between the folds of the fibres. You might have to move them around a bit to allow the water to go into every fold.
4. Cover your jar and place it in a sunny spot for at least a month. If it’s warm where you live, a month might be enough. However, if it’s cold, you might have to leave them in the jar for longer, or perhaps even just wait until the summer months… if patience is a virtue you possess, of course!
The longer, the better, because the fibres will absorb more colour and it will be longer-lasting. The heat of the sun will help extract the colour of your dyestuff and fix it to the fibre in a passive way. You don’t have to do anything except be patient!
5. Once you decide to remove your fibres, rinse them very well under running water to remove all the bits of dyestuff and leave them to dry away from direct sunlight.
6. Enjoy your new sun-dyed garment!
Collaborating with the sun to create artwork together is the most nourishing relationship – particularly during the summer months!
The sun does not just sustain life forms, but our creativity too. How beautiful?!
I am genuinely so passionate about this craft and would love to share everything I know with you. If you’re interested in learning more about natural dyeing techniques, keep an eye on our workshops or take a look at our natural dyeing services. I hope to see you there!


