


A deep, rich blue that almost mimics the colours of the deepest parts of the sea.
Indigo is such a stunning colour that emotes a sense of calm and serenity. It is one of my favourite colours to wear, especially when I’m feeling blue as it almost always lifts my spirits.
Indigo is one of the most popular dyes out there – and for every good reason. Indigo can produce a wide range of blue shades: from deep, rich dark purplish-blues to the lightest colours of the sky. Let’s explore all there is to know about dyeing with indigo to bring a contrast of colour to your clothes.
Where does indigo come from?
The popular colour indigo is named after the dyestuff that produces it, of course. And although there are various plants all over the world from which indigo can be obtained, the name literally means “a substance from India”. Indian indigo is extracted from plants in the Indigofera genus, which produce the most indican – the molecule that precedes indigo.
Other indigo-bearing plants include Japanese indigo (Persicaria tinctoria), woad (Isatis tinctoria), Guatemalan indigo (Indigofera suffruticosa) and elu (Lonchocarpus cyanescens) among others. Check out this super cool map by Rosa Chang that shows the various indigo-bearing plants found across the world!
The blue pigment is obtained from the leaves of the plants, through a process that involves fermentation, alkalinisation and oxygenation.
Best fabrics for dyeing with indigo
All natural fabrics or yarns can be successfully dyed with indigo! However, the specific vat we’ll look at today is known as the iron vat, which contains ferrous sulphate and lime. Ferrous sulphate, also known as iron, can really damage protein fibres like silk and wool. For this reason, I would definitely recommend avoiding protein fibres for this specific type of indigo dyeing process.
If you want to dye protein fibres, I go over a fun technique with fresh Japanese indigo leaves to dye protein fibres teal blue here.
All plant-based fibres work exceptionally well in this vat style, this includes bamboo, cotton, hemp, linen, ramie, rayon, etc. If you use synthetic fibres, you can get a paler shade of blue and it might be uneven (just another reason never to use synthetic fibres). Here’s a list of the best sustainable fabric suppliers around the world.
Indigo dyeing technique
Here are the 6 steps to the indigo dyeing process:
1- Scour the textiles
Make sure your textiles are dye ready by cleaning them thoroughly. Using the methods recommended in my ✴︎Finding Joy in Botanical Dyes✴︎ online workshop will help your new textiles stand up to sunlight and washing. The better your textiles have been scoured, the longer the colour will last.
2- Create your indigo stock solution
To explain the complete indigo dyeing process a bit easier, I have partnered up with Stony Creek Colors. They are an incredible women-led company that sustainably produce high-quality indigo pigment that is grown and processed in the US in such a way that it improves the farmers’ livelihoods and is not toxic to the surrounding community. Win-win!
Here’s how to create: The Stock Solution
Take a look at the complete iron vat recipe here, to start things off.
3- Build your vat
Fill a pot with warm water (hot tap water is great), and make sure to do this slowly. Add the remaining pickling lime, followed by the remaining iron powder and then stir very gently. Wait for 30 – 60 minutes before adding all the contents of your stock solution. Wait a few minutes and then stir again. Repeat this 3 or 4 times. The vat will form a bronzy type of surface, once this happens, wait for the sediment to fall to the bottom of the vat and you’ll be ready to dye!
Here’s the step by step of: Preparing the Vat
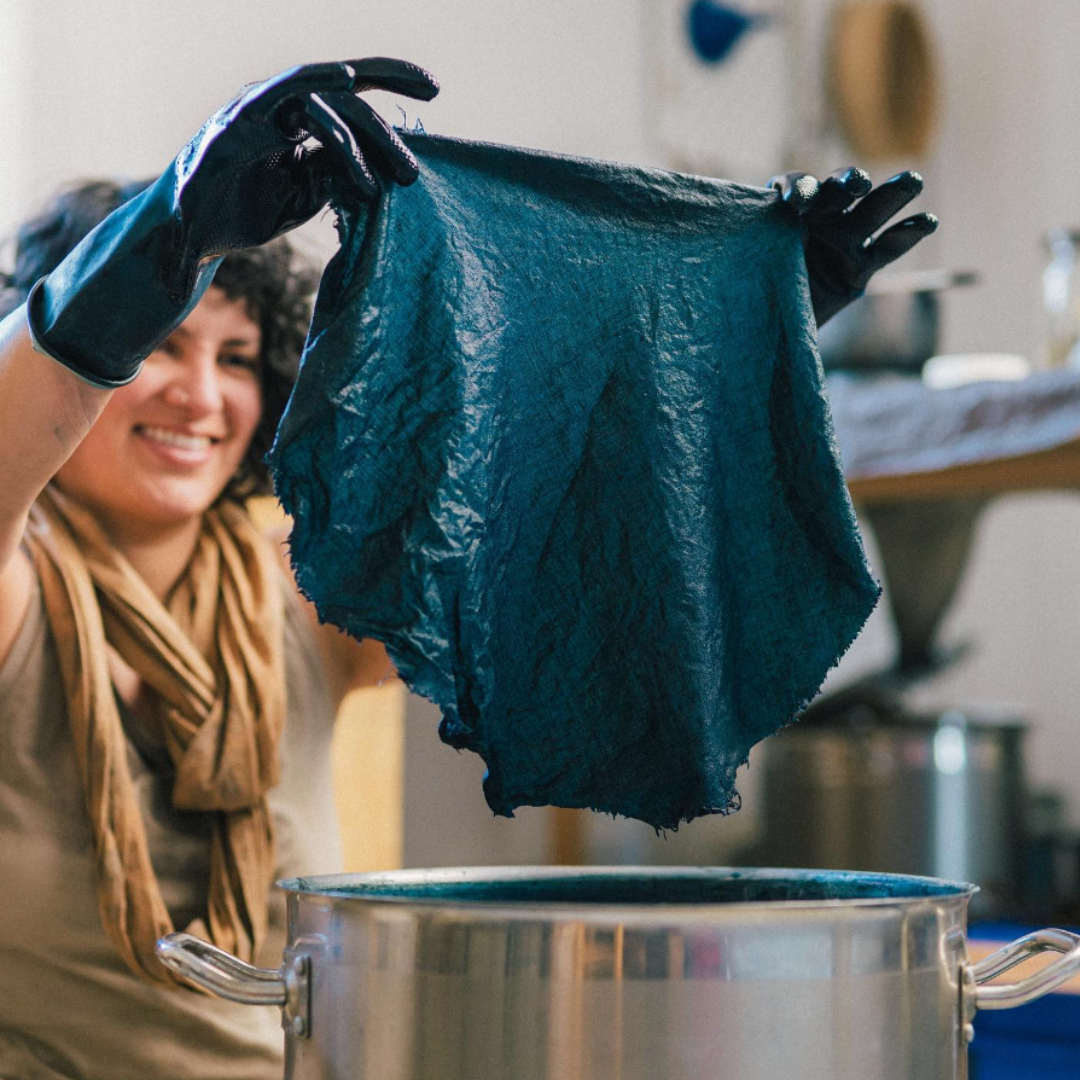
Dip & oxidise your textile
Wearing gloves, submerge your textile into the vat completely, and gently squeeze it to work the dye into all of the fibres. Don’t let your materials touch the sediment at the bottom of the vat when dyeing! Time your dips into the vat depending on the shade of indigo you want to achieve: the longer you dip, the deeper the colour will be. Gently remove your textile from the vat and let it oxidise completely before dipping again. Oxidation will make your textiles change colour from a greenish-teal to a real blue, before your very eyes!
Here’s a final video to master: Dyeing
5- Repeat as needed
Repeat the dipping and oxidising process for at least 3 times to ensure evenness in the dye, as well as better colourfastness. The more dips in the vat, the deeper the colour will be. Remember to let the fabric oxidise completely (aka fully turn blue) in between dips: a minimum of 10 minutes between dips is best.
6- Give one final wash to the textile
Rinse your textiles vigorously in a container of clean water for at least 10 minutes or under running water.
A final 10-minute soak in a solution of vinegar or citric acid will help neutralise the fabric before rinsing again in clean water. Leave your item to dry away from direct sunlight.
If you’re interested in purchasing traceable, plant-based indigo and other sustainably produced natural dyestuffs, take a look at these gorgeous natural dyes from Stony Creek Colors. (Affiliate link)

The natural indigo dyeing process can seem daunting at first but let me tell you, once you learn all the little tips and tricks of the process, it’s a breeze!
If you’re interested in learning about creating an indigo vat using food scraps or you’re keen to find out more about sustainable fashion and how you can play your part, check out my upcoming workshops.
We’ll go on the best adventure together into the world of natural beauty and how we can mend our relationship with the Earth.
Disclaimer: Some of the links in this article are affiliate links, and if you go through them to make a purchase, I will earn a small commission at no extra cost to you. Bear in mind that I link these companies because I believe in their offerings and NOT because of the commission I receive from your purchases. I will never partner with a brand that I don’t believe in.


